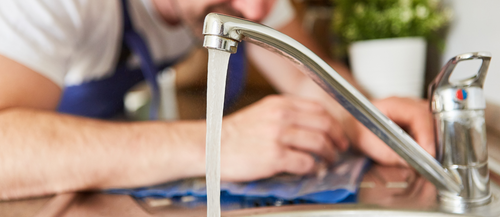
Do you have a water leak at your mixer tap? This problem, although common, can cause inconvenience and significantly increase water consumption, especially if this leak is not quickly resolved. In this article, we will explain the possible causes of this top faucet leak and the different solutions to fix it.
Symptoms of a faucet leaking from the top
First and foremost, it is essential to precisely identify the origin of the problem in order to determine the best solution. Here are some common indicators of this type of leak:
- Water droplets constantly escape from the top of the faucet, near the handle;
- An abnormal noise occurs when using hot or cold water;
- A decrease in water pressure may also be observed.
Potential causes of the leak
Natural wear and tear of the cartridge
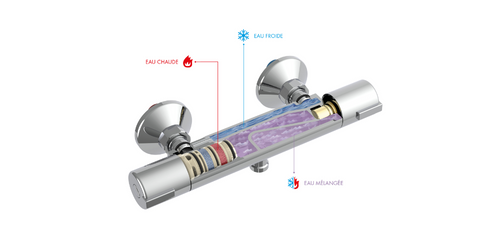
The first possible cause is the wear of the cartridge. The cartridge is a part located inside the mixer tap, used to mix hot and cold water and adjust the temperature according to the user's needs and desires. Over time, this part can wear out and lose its seal, causing water leaks at the top of the faucet.
Damaged spout seal
Another possible cause concerns the seal located at the end of the spout. Like the cartridge, this rubber seal can deteriorate over time, causing a deterioration of the seal between the spout and the body of the faucet. This can also cause leaks from the top.
Water pressure problem
One of the other potential causes is an abnormal variation in water pressure in the pipes. Excessive pressure can strain the cartridge and seals, reducing their effectiveness and lifespan.
How to repair a faucet leaking from the top?
To solve your leak problem, it is essential to precisely identify the cause in order to choose the best solution. Here are some methods to remedy problems related to the different causes mentioned above:
For a worn cartridge
- First, shut off the water supply to your faucet and disconnect the drain;
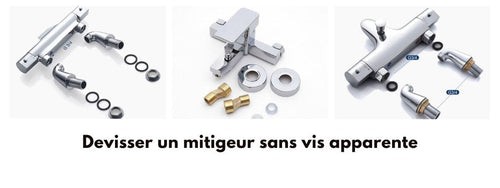
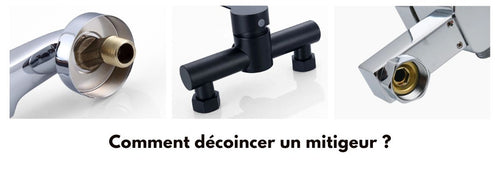
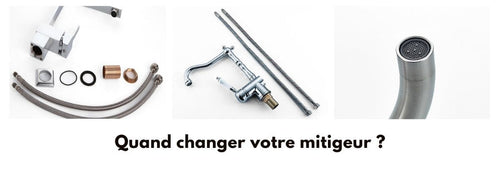
- Then, disassemble the mixer to access the cartridge using a screwdriver or adjustable wrench;
- Once you have access to the cartridge, examine it and check if it is indeed in poor condition. If so, it will need to be replaced with a new one (you can check the model reference on the old cartridge);
- Operate your faucet after reassembling all the parts to check if the leak has been resolved.
For a defective seal
- First, shut off the water supply to your installation;
- Then, only dismantle the spout part of the mixer by unscrewing the spout body with an adjustable wrench;
- Check the condition of the seal: if it is cracked, flattened, or broken, replace it with a new one;
- Turn on the faucet to see if the leak has stopped.
For a water pressure problem
If it turns out that the pressure in the pipes is too high, it may be useful to install a pressure reducer just before the water supply to your faucet. This device will regulate the pressure, avoiding excessive stress on the faucet components and premature wear.
Preventing leaks from the top of the faucet
To prevent repeated leaks in your faucet, a few tips can be implemented:
- Regularly check the condition of the seals to replace them at the first signs of wear;
- Be careful not to handle the mixer roughly to limit this wear;
- Consider scheduling regular maintenance of your faucet, especially by taking care to remove limescale residues that can accumulate at the spout or cartridge.
By applying these tips and remaining vigilant to the warning signs of a possible leak, you should avoid many inconveniences and extend the lifespan of your mixer tap. Do not hesitate to seek professional help if necessary, especially if you are not familiar with plumbing or if the problem persists despite your repair attempts.


