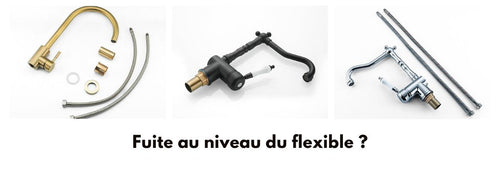
If you notice leaks or a decrease in water flow in your faucet, the problem may be coming from the hose. In this article, we will explain how to change a faucet hose by following a few simple instructions and concrete steps.
What is a faucet hose?
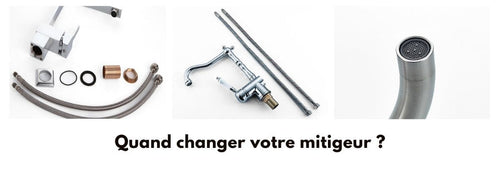
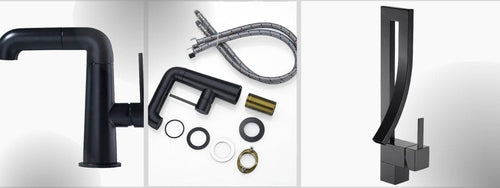
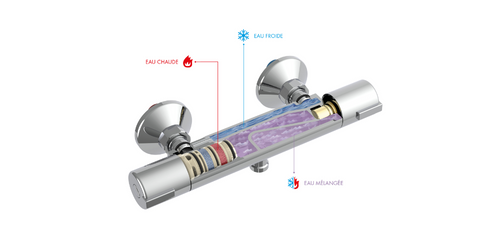
The hose is an essential element for the proper functioning of a kitchen faucet mixer. It is a flexible tube, generally made of stainless steel, which connects the hot water outlet to the cold water outlet and thus allows the two flows to be mixed before being directed to the faucet aerator. The hose therefore plays an important role in regulating the flow and temperature of the water.
Signs of a hose problem
Several signs can alert you to the need to replace the hose of your faucet:
- Water leaks at the hose level;
- A decrease in water pressure or flow;
- Abnormal temperature variations.
However, before replacing the hose, it is important to make sure that it is indeed the cause of the problem. To do this, you can seek advice from a professional or carry out some checks on your own.
Steps to change a faucet hose
Now that you are sure of the need for replacement, here are the different steps to follow:
1. Turn off the water and disconnect the hose
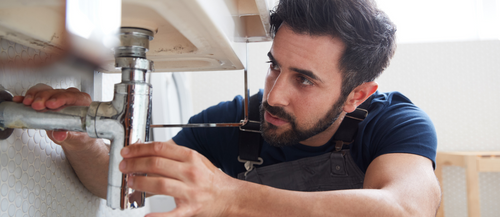
Start by turning off the hot and cold water supply to avoid water damage during the intervention. To do this, close the shut-off valves located under the sink or worktop. Once the water is turned off, place a bucket under the hose to collect the residual water and then gently unscrew the connection nuts using a wrench.
2. Choose a suitable new hose
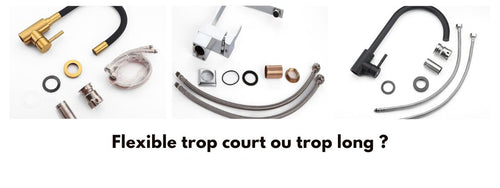
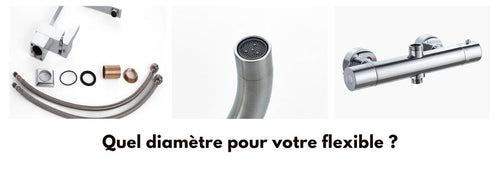
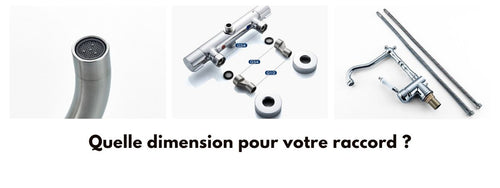
When you buy a new hose, it is important to choose a model that is compatible with your faucet. Pay attention to the length, diameter, and type of connection (male or female). Make sure you have the technical specifications of your faucet to make the right choice.
3. Install the new hose
To install the new hose, proceed as follows:
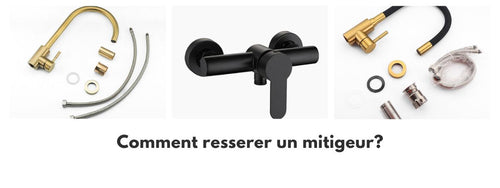
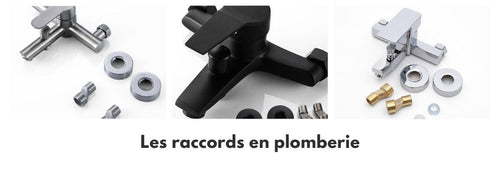
- Thoroughly clean the threads of the connections on the faucet and the water supply pipes;
- Reposition the sealing rings, being careful not to damage them;
- Manually screw the nuts onto the faucet and water supply pipes, being careful not to force them to avoid damaging the threads;
- Tighten the nuts with a wrench, without applying too much force.
To ensure a successful installation, remember to check the tightness of the connections by opening the shut-off valves and running the water for a few moments. If no leaks are visible, the replacement has been carried out correctly.
Precautions to take when changing a hose
It is essential to take certain precautions to ensure the success of this intervention:
- Have the right tools: make sure you have a suitable wrench to easily unscrew and tighten the nuts;
- Turn off the water: never intervene on a pressurized water system to avoid any risk of water damage;
- Protect your environment: place a bucket or cloths under the hose and connections to prevent residual water from wetting your floor;
- Check for tightness: after installing the new hose, make sure that the connections are tight by turning on the water and checking for any leaks.
By taking these precautions, you can change the hose of your faucet safely and once again enjoy optimal water flow. Do not hesitate to consult a professional if you encounter difficulties or if you have doubts about the source of the problem encountered.


