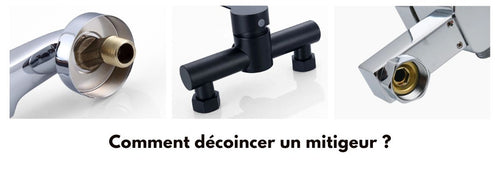
The aerator is a small accessory found on most faucets, which helps reduce water consumption while increasing its pressure. It can become clogged and lose its effectiveness over time. In this article, we will explain how to proceed step by step to easily disassemble, clean, or replace the aerator on your faucet.
Reminder of the main functions of the aerator
Also known as an aerator, the aerator's primary role is to mix water and air to obtain a softer texture when it comes out of the faucet. This not only generates fewer splashes, but also substantially reduces the amount of water used. Another advantage is that it minimizes problems related to limescale that can form over time on your fittings.
Identify and prepare the necessary tools for disassembling the aerator
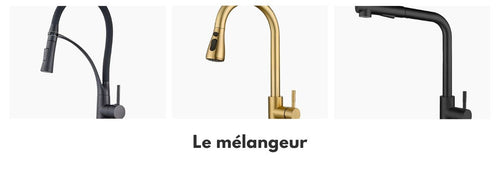
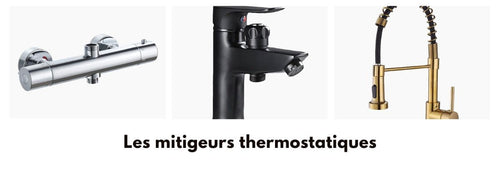
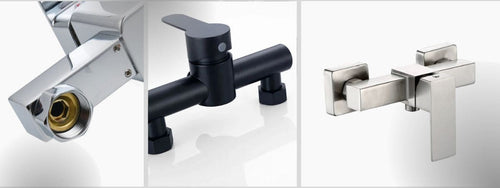
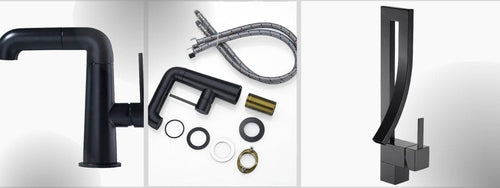
- Identify the faucet model: The first thing to do is to identify the type of faucet you have. Standard models generally have a ring where the aerator is located at the end of the spout. Other types of faucets, particularly mixers, may require a little more research to locate the aerator.
-
Gather the necessary tools: To remove the aerator, you will need adjustable pliers or a vice grip, as well as a soft cloth. The adjustable wrench may also be useful in some cases. Don't forget to prepare a basin to collect any water that may escape during disassembly.
Step-by-step process of disassembling and replacing the aerator
Step 1: Turn off the water supply
First and foremost, it is essential to cut off the water by closing the shut-off valve located under your sink. This will prevent water from interfering with the disassembly operations and potentially damaging your installations.
Step 2: Protect the faucet with a cloth
Wrap the cloth around the upper ring of the faucet to protect it from scratches, then adjust your adjustable pliers or vice grip according to the size of the aerator. Be careful not to tighten too much: this could damage the sealing ring, or even the threads of the aerator.
Step 3: Remove the aerator
Grasp the protected part of the aerator with the pliers and rotate it counterclockwise to unscrew the ring and release the aerator. This may require some force, especially if limescale has accumulated over time.
Once the aerator is removed, check the overall condition of the sealing ring located between the ring and the aerator. If it is damaged or worn, it is recommended to replace it as well to avoid leaks when reinstalling the new or cleaned aerator.
Step 4: Clean or replace the aerator
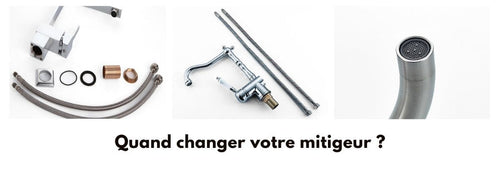
Without necessarily replacing it, you can simply clean it. To do this, soak it in a container containing white vinegar for about an hour, then rinse it thoroughly with clear water before drying it. When you have completed these operations, carefully examine the aerator to check for signs of wear or deterioration. If this is the case, it is better to replace it with a new model suitable for your faucet.
Step 5: Reassemble the aerator on the faucet
Position the (new or cleaned) aerator and the sealing ring on the spout, then screw them together by turning the upper ring clockwise. Be careful not to tighten too much to avoid damaging the parts. Feel free to use a cloth and adjustable pliers or a wrench to ensure optimal tightening. Then turn the water back on by opening the shut-off valve and check for any leaks.
You now know how to remove, clean, or replace the aerator on your faucet! By applying these practical tips regularly, you will extend the life of your fittings while continuing to enjoy the benefits of this economical and ecological system.


