
How to change a mixer tap seal?
Discover on Le Mitigeur
-
The importance of functionality: why choose a mixer with a hand shower?
When it comes to choosing a mixer for your kitchen or bathroom...
-
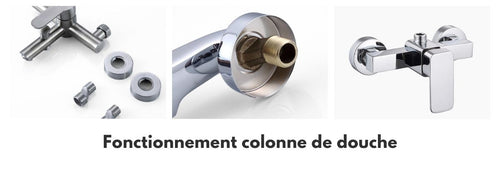
How does a thermostatic shower column work?
When setting up or renovating a bathroom, it is essential to t...
-
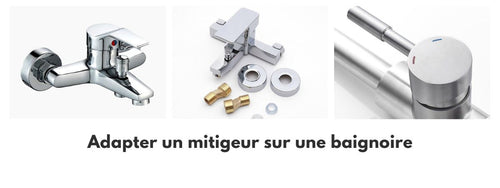
How to adapt a mixer tap to a bathtub?
In this article, we will cover the different steps for fitting...
-
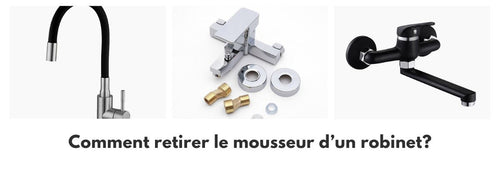
How to easily remove the aerator from your faucet?
The aerator is a small accessory found on most faucets, which ...
-
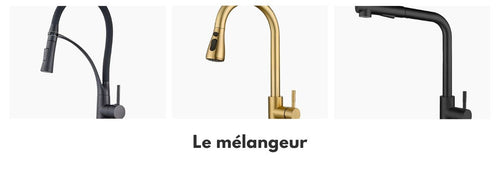
Discover all the secrets of the water mixer!
To control the temperature and flow of water in your home, sev...
-
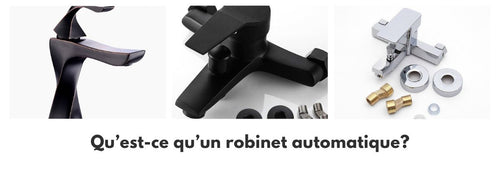
What is an automatic faucet?
Automatic faucets have become a real trend in public buildings...
-
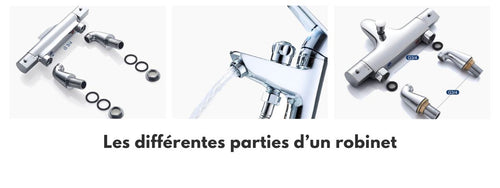
What are the different parts of a faucet?
The daily use of faucets is a given in our lives, but most of ...
-
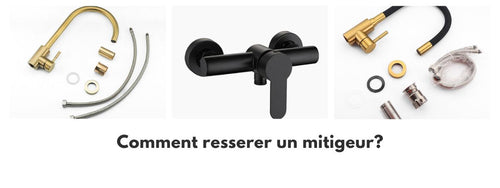
How to tighten a faucet or mixer?
A common problem in bathrooms and kitchens is water leakage ca...
-
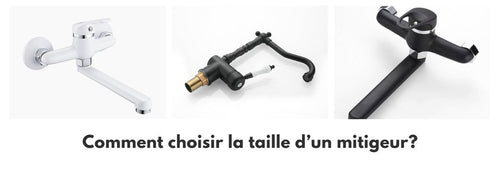
How to choose the size of a mixer?
It is strongly recommended to choose the size of a mixer tap b...
-
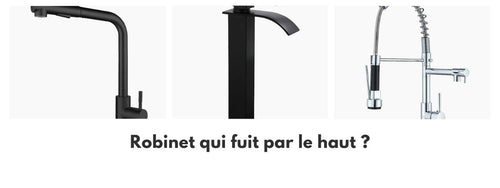
Leaky faucet at the top: causes and solutions to know
Do you have a water leak at your mixer tap? This problem, alth...
-
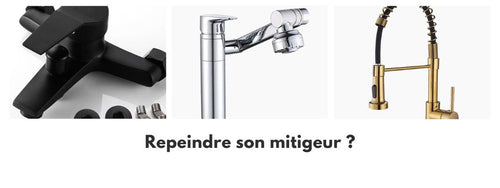
Can we repaint our mixer tap? If yes, how to do it? We explain everything to you!
Repainting a mixer tap is a possible and economical solution t...
-
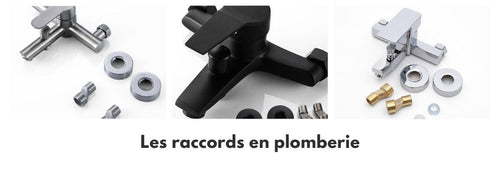
The different types of plumbing fittings: our complete guide
Plumbing is a crucial area for the proper functioning of part ...
-
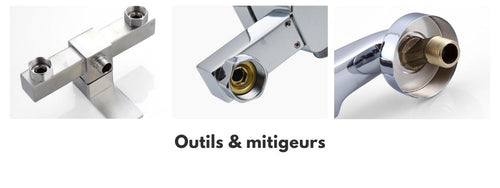
Complete guide for repairing mixer taps with the right tools
Mixing taps are present in millions of French households, and ...
-
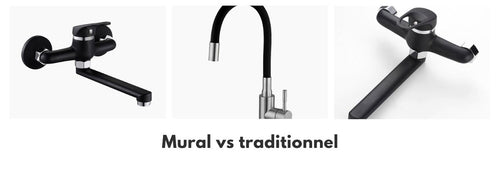
Wall mixer tap vs. traditional tap: Comparison and benefits
In the world of plumbing, consumers are faced with a multitude...
-

Create your haven of peace: customize your bathroom space
The bathroom is an essential place in our home, where we spend...
-
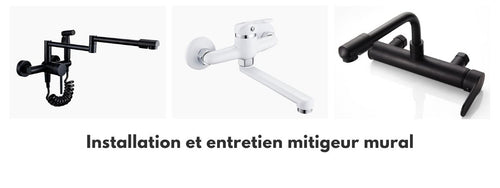
Complete guide for the installation and maintenance of a wall-mounted mixer tap
The wall-mounted mixer tap is a design and functional element ...
-
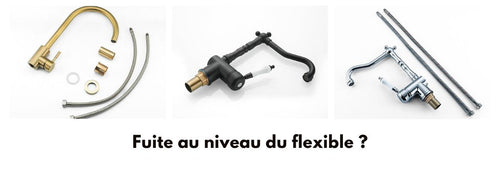
How to fix leaks with a faucet hose?
In the kitchen or bathroom, the faucet hose is an essential el...
-
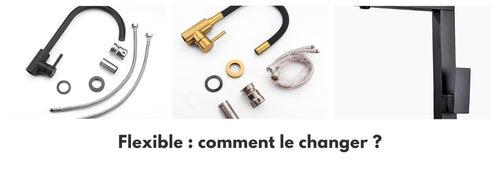
How to change the hose of a mixer tap? Tips and tricks
If you notice leaks or a decrease in water flow in your faucet...
-
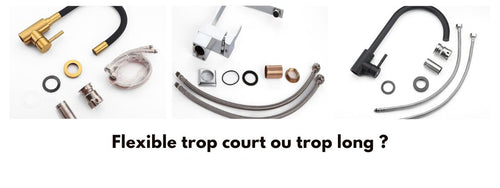
How to solve problems with faucet hoses that are too short or too long?
In a bathroom or kitchen, it is common to encounter problems r...
-
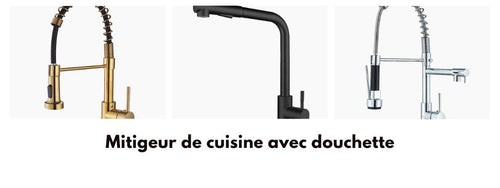
Step-by-step guide to installing a kitchen mixer with a spray hose
If you are a handyman, you know that most household tasks can ...
-
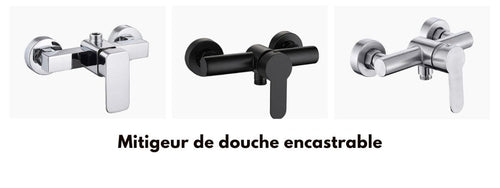
How to install a built-in shower mixer? Our advice
The bathroom is one of the most important rooms in the house, ...
-
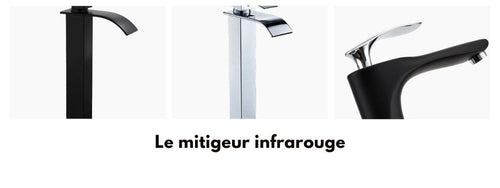
Our guide to installing an infrared mixer at home
Infrared mixers are becoming increasingly popular. Their effic...
-
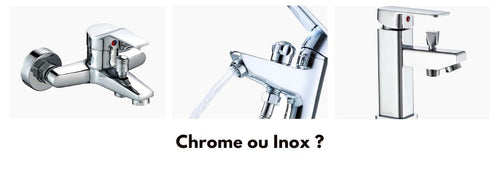
Comparison between stainless steel and chrome mixers: which one to choose for your kitchen or bathroom?
In the world of faucets, two types of materials dominate the m...
-
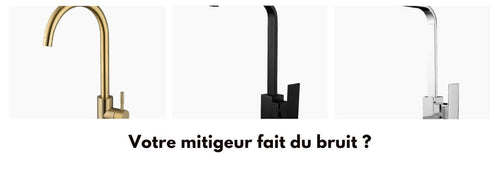
Why does your mixer make noise? Causes and solutions
Faucets, especially mixers, can sometimes cause some noise dis...
-
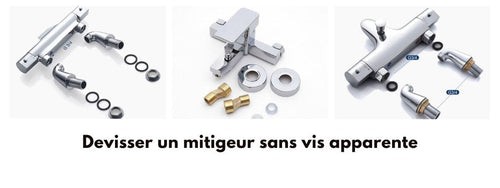
Step-by-step guide to unscrew a mixer without visible screws
Are you faced with a problem of disassembling your mixer witho...
-
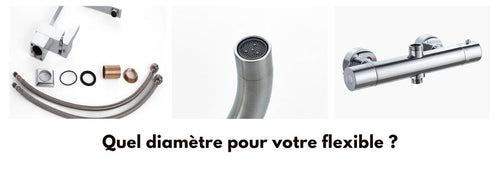
Choosing the right diameter for a faucet hose: practical guide
In the world of plumbing, choosing the right equipment is esse...
-
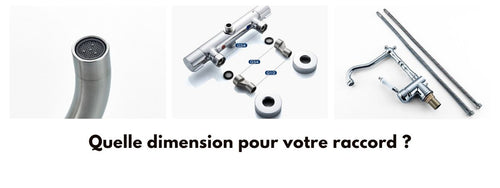
How to determine the size of your plumbing fitting: 12x17 or 15x21?
In the field of plumbing, it is advisable to know the appropri...
-
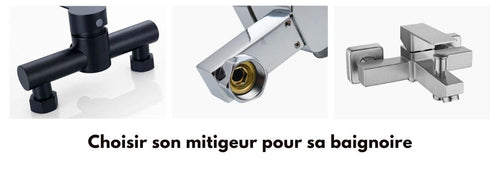
How to choose the right mixer for your bathtub?
In the bathroom, the choice of mixer tap is essential to ensur...
-

Easily find your water supply valve: we tell you everything!
Whether you are a tenant or homeowner, it is essential to know...
-
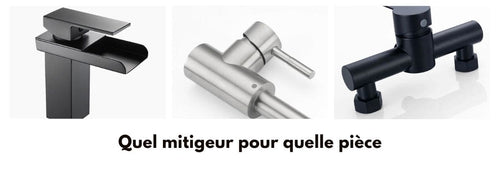
The ultimate guide to choosing the appropriate mixer for each room in your home
In a home, water is an essential element for comfort and hygie...
-
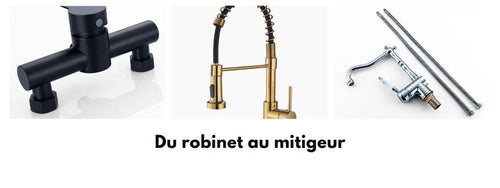
How to switch from a mixer tap to a mixer for a modernization of your bathroom
Faucets are an essential element in any kitchen or bathroom. O...
-
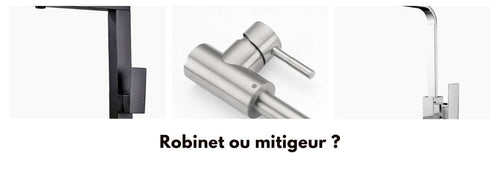
Faucet or mixer: a real difference?
When it comes to plumbing equipment, we often hear about fauce...
-
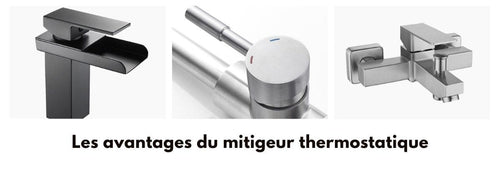
The 3 main benefits of a thermostatic mixer for your bathroom
The choice of equipment for the bathroom must be made with car...
-
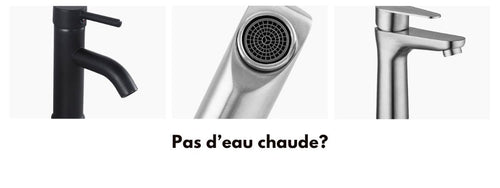
Why does hot water take so long to reach the faucet?
You have probably already experienced this problem: you open t...
-
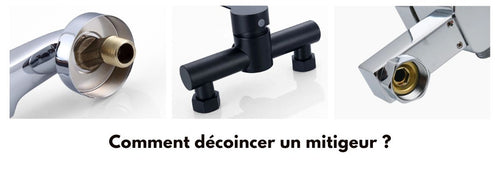
How to loosen a faucet: our practical guide
A stuck faucet can be particularly frustrating, especially if ...
-
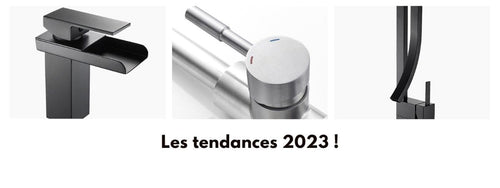
Colors and finishes of faucets: trends in 2023!
Faucets play a crucial role in the interior design and decorat...
-
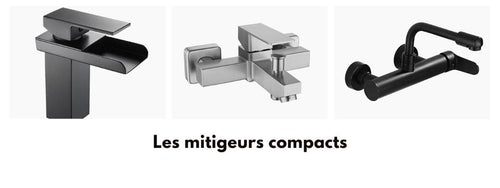
Small bathrooms, big styles: perfect faucets for a compact and elegant space
Welcome to this guide dedicated to discovering the perfect fau...
-
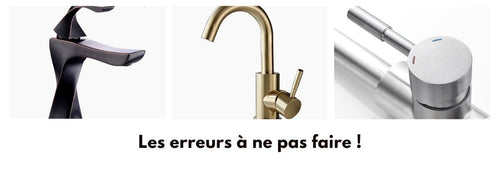
The 7 mistakes to absolutely avoid when choosing your mixer!
Whether it's for your bathroom or kitchen, the mixer tap is an...
-
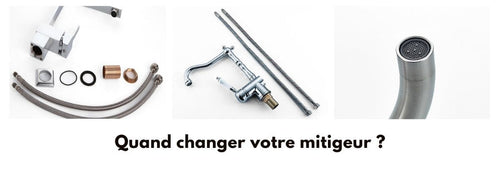
When and why to replace your faucet: signs to watch for
Faucets are essential devices in our kitchens or even our bath...
-
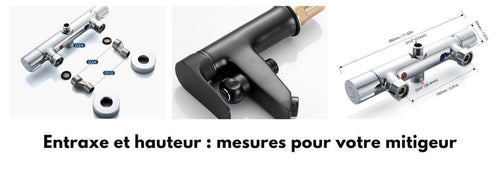
Center distance and height of your mixer: what you need to know
Spacing, height of your mixer, shower, or bathtub. Do you have...
-
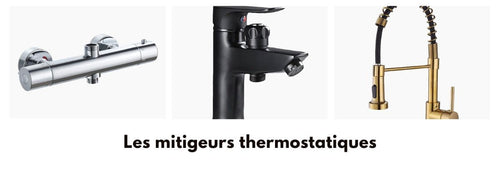
What is a thermostatic mixer? How does it work?
Do you want to buy a mixer capable of maintaining the water te...
-
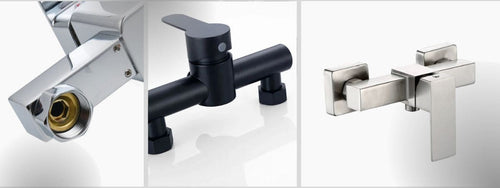
How to descale a shower mixer?
Your mixer lacks pressure? Do you notice a malfunction in the ...
-
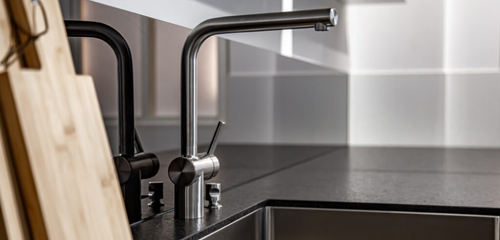
Which mixer to choose for a kitchen?
Do you want to know which faucet to choose for a kitchen? You ...
-
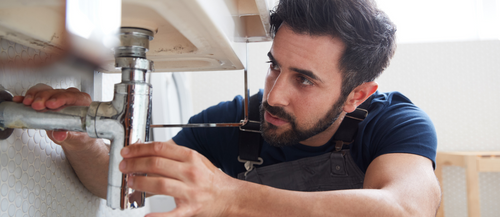
How to fix a dripping faucet?
Do you have a leaking tap? Do you want to learn how to fix it ...
-
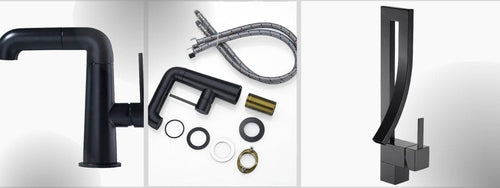
How to change a shower mixer?
You want to change your shower mixer for aesthetic reasons? Do...
-
How to know if the mixer cartridge is faulty?
The cartridge of your mixer seems to be faulty? You don't reme...
-
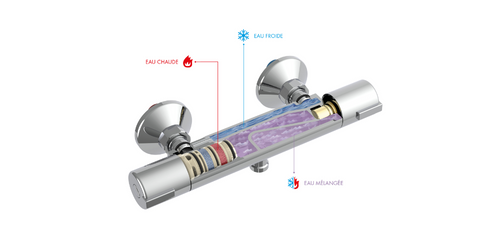
How to unlock a thermostatic mixer?
Do you want to know how to unlock a thermostatic mixer tap? Yo...
-
What is the difference between a thermostatic and mechanical mixer?
Do you need to change your mixer? Do you want to know the diff...
-

What are the best faucet brands?
Are you looking for the best faucet brands? Do you not know wh...


