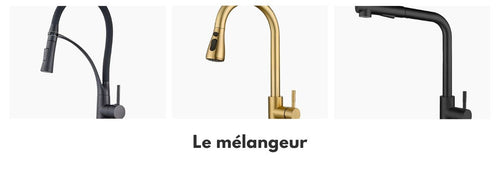
If you are a handyman, you know that most household tasks can be done without the help of a professional. One of these tasks is installing a kitchen mixer with a spray hose. In this article, we explain step by step how to carry out this installation with ease. Still looking for your mixer? Check out our complete range, with spray hose.
The advantages of a mixer with a spray hose
First of all, let's take a look at the advantages of having a mixer with a spray hose in your kitchen. Among these, we can mention:
- Comfort and practicality when doing the dishes thanks to the mobility of the spray hose
- Time savings in rinsing food and kitchen utensils thanks to its variable jet function
- Water savings thanks to its flow regulation system.
Now that you are convinced (we hope) of the usefulness of such a faucet, it's time to learn how to install it yourself in your kitchen.
Step 1: Preparation of the necessary material
Before starting the installation, make sure you have all the necessary elements:
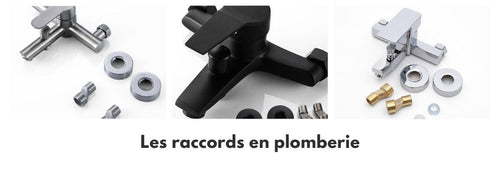
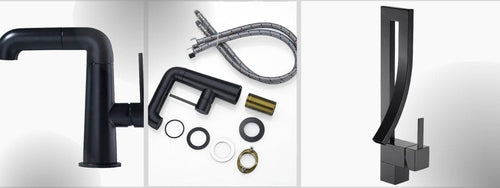
- A kitchen mixer with spray hose (with its included accessories)
- Connection hoses
- A sealing gasket (generally provided with the mixer)
- A screwdriver, an adjustable wrench, and a sealing compound
- A bucket or basin to collect any water that may be present in the pipes.
Step 2: Disassemble the old kitchen faucet
If you are replacing an old faucet, the first step is to disassemble it:
- Turn off the main water supply
- Open the faucet to drain the remaining water in the pipes
- Disconnect the connection hoses using an adjustable wrench
- Unscrew the fixing system located under the sink and remove the old faucet.
Also, be sure to clean the surface of the sink before installing the new mixer.
Step 3: Assemble and fix the mixer with spray hose
Mounting the mixer
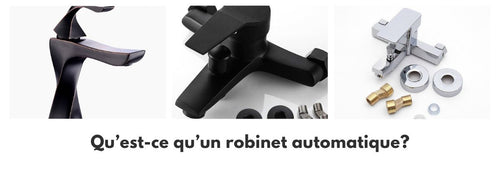
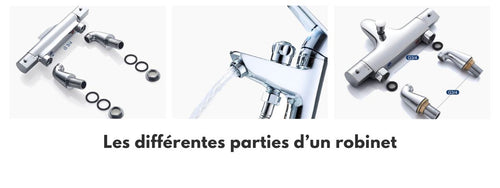
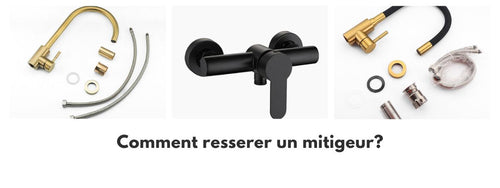
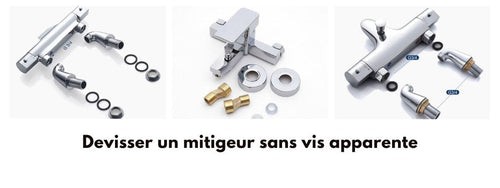
Follow the manufacturer's instructions to assemble the mixer with spray hose. The steps may vary slightly depending on the models, but generally you will need to:
- Screw the spray hose to the hose
- Connect the other end of the hose to the body of the mixer
- Install the sealing gasket on the base of the mixer.
Installation on the sink
Insert the mixer into the hole provided on the sink, making sure that the sealing gasket is well positioned to ensure a perfect seal. Install the fixing system under the sink and tighten it firmly with the adjustable wrench or a specific wrench, depending on the model.
Step 4: Connection of the water hoses
The hoses are generally of two types: one for hot water and one for cold water. It is essential not to reverse them during installation. According to their color code, you will know how to connect them:
- Red hose: hot water (on the left)
- Blue hose: cold water (on the right)
Proceed with the connections, taking care to screw the hoses correctly, without necessarily tightening too much. Once done, place the bucket or basin under the pipes and slowly reopen the water to check for leaks.
Step 5: Checking the installation
It is now time to check if your installation is working perfectly:
- Open the mixer fully to let the water flow for a few minutes
- Check that hot and cold water flow correctly
- Test the proper functioning of the spray hose and its different jets (if available)
- Inspect the connections to identify any possible leaks.
If everything seems to be in order, your kitchen mixer with spray hose is now ready to be used daily!


