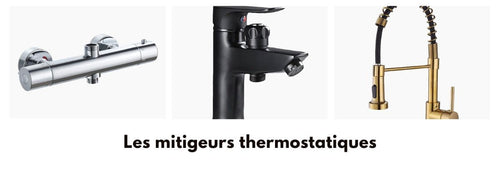
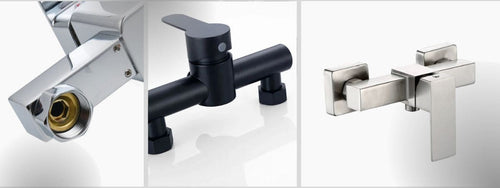
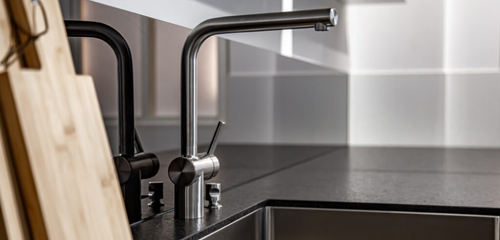
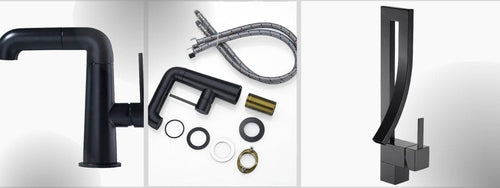
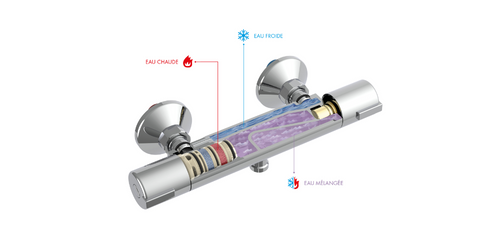
The bathroom is one of the most important rooms in the house, where you should enjoy comfort and good moments of relaxation. A good choice of equipment greatly contributes to this goal. Among these equipments, we find thermostatic mixers, considered the most advanced for your bathroom. One of them is the built-in shower mixer.
A built-in shower mixer is a type of plumbing concealed in the shower wall, which allows for a more aesthetic and modernized finish. In this guide, we will present the different steps necessary for its successful installation. Take the opportunity to discover our range of shower mixers on our site.
Types of installation and compatibility
Before installing a built-in shower mixer, it is essential to know the different types of installation for mixers as well as the compatibility between the elements.
Types of installation
- Wall installation: This is the most common technique, the faucet is fixed to the wall and comes out horizontally, or slightly inclined, towards the ceiling.
- Ceiling installation: This type of installation is generally used for suspended shower heads. The faucet is installed directly on the ceiling and comes out vertically.
Mixer compatibility
When choosing a built-in shower mixer, it is crucial to respect a few parameters to ensure optimal compatibility:
- Look for reliable brands to guarantee quality and product consistency. Do not forget that the mixer must be compatible with the shower column.
- Pay attention to dimensions and type of use in order to choose a mixer adapted to your needs.
- Check local standards and regulations to avoid future problems during installation.
Steps for installing a built-in shower mixer
Once the mixer is chosen, you can proceed with the installation by following these steps:
Site preparation
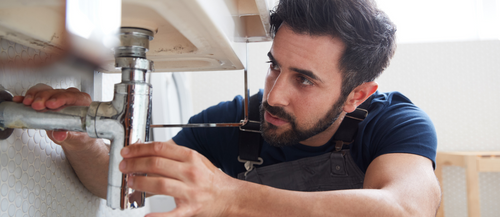
Before starting your work, make sure to gather all the necessary equipment: piping, connections, multilayer pipes, and shower tray if your installation includes a floor.
In addition, it is recommended to shut off the water and electrical power if necessary to ensure optimal safety during the intervention.
Shower installation and system securing
- Start by locating the drainage points on the shower tray and bathtub.
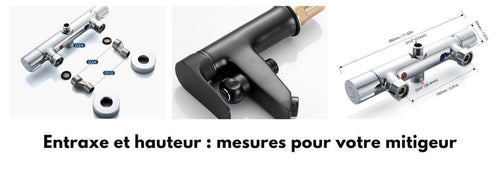
- Measure the space your built-in mixer should occupy to determine the exact location of the connections to be fixed to the wall. You can also check the proper centering of everything using a level.
- Then install the fixing system and ensure it is perfectly horizontal with the wall. Finally, drill the necessary holes to insert the screws that will support the system.
Pipe connection
- Limit the length of the pipe network to reduce pressure losses and maintain good water pressure.
- Use a multilayer pipe to ensure optimal and durable use.
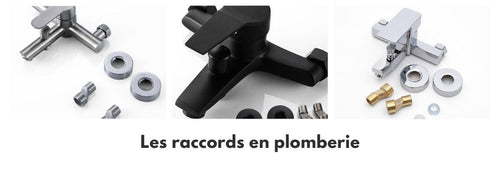
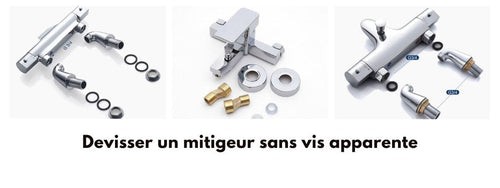
- Connect all the elements constituting the shower using fittings and clamps adapted to your installations.
- You can now connect the other essential sanitary components such as bathtub, sink, toilet, etc.
Installation and final adjustments
Final step: you need to add the finishing touches to your installation.
- Install the shower head at the appropriate height according to the instructions provided by your manufacturer. To do this, it may be necessary to drill a few holes in the wall or support.
- Once the shower head is fixed, make sure to center and adjust its position relative to the shower mixer.
- Finally, to secure the entire system, check the tightness of all connections and joints (silicone) using a dry cloth.
These are all the essential steps for correctly installing a built-in shower mixer. Once these works are completed, you can enjoy a modern and functional bathroom, with an aesthetic touch provided by this type of sanitary equipment.


