You want to change your shower mixer for aesthetic reasons? Do you have a recent problem, such as a water leak, and don't know how to change your shower mixer? In this article, we will show you step by step how to disassemble, replace, and then reassemble your shower mixer. Even if you are not a handyman, you will find all the information you need to do this without much difficulty.
Materials needed
Just before changing or replacing your mixer, let's take a moment to review the materials you will need. In the vast majority of cases, you probably already have this material at home, but if not, feel free to buy it at a large store, as you will likely need it for future work at home.
- A pair of gloves
- Pliers
- Sealant tape
- Adjustable / flat / torx wrench
Tips from le-mitigeur.com
Personally, I like to work in a clean environment. I always clean the equipment, in this case the mixer, as well as all the tools I will need. Just before starting to disassemble my mixer, I always take one or two photos to know exactly how it was mounted. As I disassemble it, I place all the detached pieces in the same place, in a small bag for example, so as not to lose anything.
How to disassemble your mixer? Step by step
Step 1: turn off the water supply
Even if changing a mixer normally poses no problem, you are still doing some minor plumbing. The biggest risk of this kind of operation is having a problem related to water (flooding, for example). From the moment you work on plumbing, I strongly advise you to turn off the water supply either to the room in which you are working or to your apartment or house, depending on how your water supply system is designed.
Step 2: remove the old mixer
To remove the old mixer, we will proceed step by step.
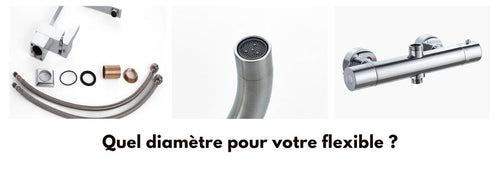
- First, you will need to remove the hose, that is, the pipe from your shower. To do this, you will simply need to unscrew the hose, being careful to keep the gasket that ensures the tightness of your hose.
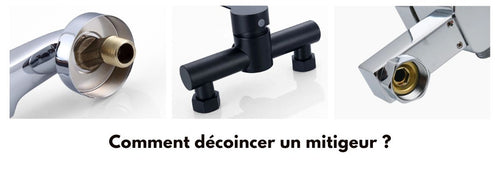
- Second step, at the base of your mixer, which allows it to be attached to your wall or partition, you should unscrew the nuts, using the equipment I mentioned earlier, such as a flat wrench. The necessary equipment may vary depending on the type of mixer that was previously installed. Take the time to check the specific tool you will need to perform this task.
Remove the mixer from its base, then place it with the rest of the equipment you just removed.
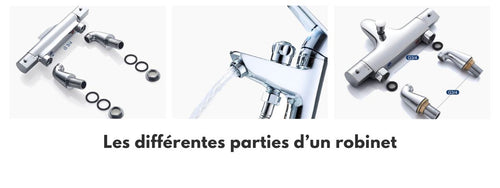
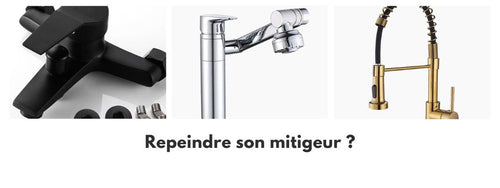
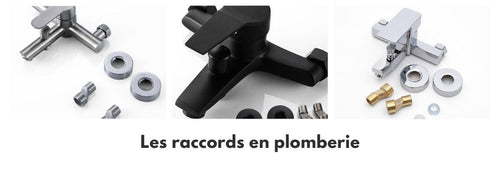
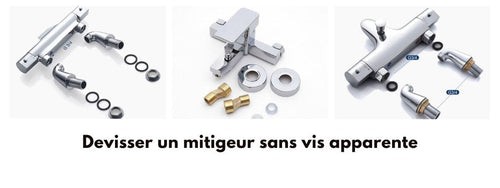
Last step, you will need to remove the spacers, that is, the two fixings on the right and left that hold your mixer on your shower wall. To do this, you will generally only need to unscrew them by hand or with a wrench.
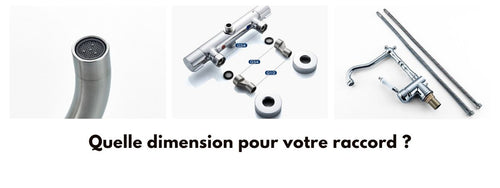
Good to know: If you are removing an old mixer, it is possible that the existing fittings need to be changed. If this is the case, buying new fittings will only cost you a few euros, and you will simply need to rethread them, that is, to put back the threading that ensures the tightness of your fitting. Once the threading is added, you just need to screw your fittings back onto the pipe.
How to reassemble your new mixer?
This is the home stretch, a little more courage, you're almost there! Reassembling a mixer is a fairly easy task.
Step 1: check your new equipment
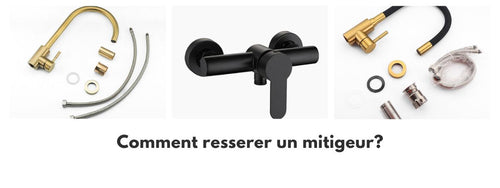
The first thing to do before reassembling is to check that you have all the elements. Take the time to see if you have your two spacers and your fittings, as well as the mixer.
Step 2: assembly
Before fixing your mixer, you will have two actions to take.
- Put your gaskets back on your fittings.
- Put your washers back on by screwing them directly onto your fittings.
Step 3: placing the mixer
Last step! It's time to fix your new mixer. To do this, make sure to position it correctly on either side of your fitting, then start screwing it in gently, either with your hands or directly with a wrench. Make sure that your mixer is screwed in the same way on the right and left sides.
Do not screw it in all the way! Take the time with the first tightening to check that everything is okay without turning the water back on, of course, but by checking that it is well positioned in relation to your fittings.
Then, if everything is good, it's time to tighten it completely, with pliers or a wrench, and then reconnect your hose, without forgetting to reposition the gasket before tightening.
You had previously turned off your water supply, it is now time to reconnect everything and test your new installation. During your test, check that there are no leaks at your fittings, and that your mixer works properly.


