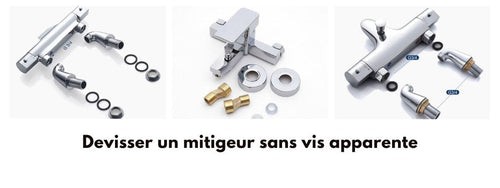
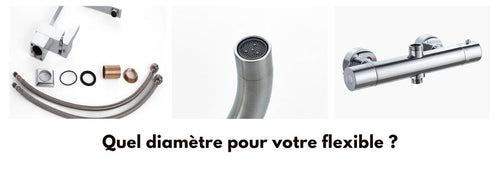
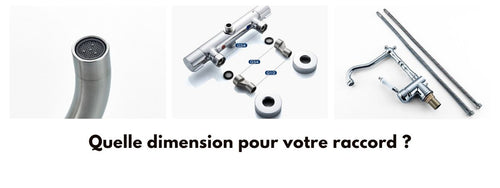
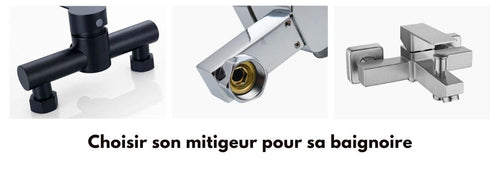
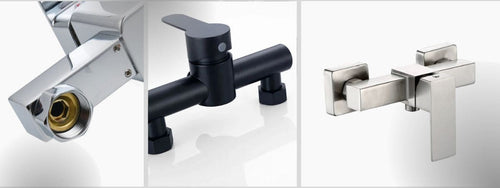
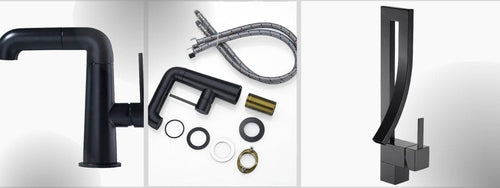
A common problem in bathrooms and kitchens is water leakage caused by a poorly tightened faucet or mixer. Slow and steady water flow can lead to problems such as water wastage, excessive billing costs, and long-term damage to your plumbing. To avoid this, you need to at least know how to tighten a faucet or mixer.
Methods for tightening a faucet or mixer
There are several ways to tighten a faucet or mixer, depending on the type and design of the faucet. Here are some of the most common methods:
- Tightening the side screws
- Using adjustable pliers
- Using a perforated retaining plate
Materials needed to tighten a faucet
Before you start this operation, make sure you have the necessary tools for each step. Here is a non-exhaustive list of the material you may need:
- A flathead or Phillips screwdriver
- An adjustable wrench or adjustable pliers
- A perforated retaining plate (depending on the faucet model)
- A dry cloth
- Teflon sealing tape or O-ring (optional)
Tightening the side screws to tighten a faucet
Locate the side screws
Inspect the body of the faucet for screws that secure it. They are often located on the sides of the faucet, which is why they are called "side screws." It may be necessary to remove a decorative cover to access them.
Determine the type of screwdriver to use
The screws used on faucets are generally Phillips or flathead. Choosing the right screwdriver based on this will make tightening easier and minimize potential damage to the screws.
Tighten the side screws
Carefully insert your screwdriver into the screw and turn it clockwise. Tighten until the screw is securely fixed and you can no longer turn it easily. Be careful not to over-tighten, as this could damage the faucet or the screw.
Using adjustable pliers to tighten a mixer
Locate the area to tighten
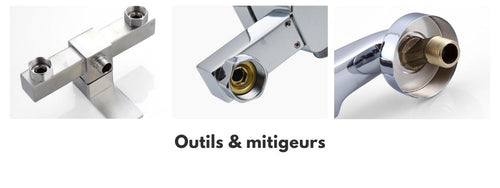
In the case of a mixer, the part that sometimes needs tightening is the thread connecting the spout of the mixer to the part embedded in the wall or countertop. This area is generally accessible from below and is located near the base of the spout.
Choose an appropriate pliers
There are several types of pliers, but for this operation, it is advisable to use adjustable pliers. This type of pliers offers an adjustable grip for different pipe and fitting sizes.
Tighten the mixer thread
Using the adjustable pliers, firmly grasp (but not excessively) the area of the thread you want to tighten. Turn the pliers clockwise until the spout is securely fixed. Remember not to over-tighten to avoid potential damage.
Using a perforated retaining plate to tighten a faucet
In some cases, you may encounter a faucet model that needs to be held with a perforated retaining plate. This is often the case with faucets mounted on stainless steel or resin sinks.
Inspect the underside of the sink
Under the sink, look for the part where the faucet is attached. You should find the perforated retaining plate, which is a metal or plastic piece with holes to allow the passage of screws and rods.
Tighten the fixing nuts
Use an adjustable wrench or adjustable pliers to tighten the nuts located around the threaded rods that pass through the perforated plate. As with the other methods, tighten enough to securely fix the faucet, but without excessive force to avoid potential damage.
By following our instructions, you should be able to tighten your faucet or mixer successfully. Do not hesitate to seek professional help if you are unsure of the method to apply, to avoid any risk of damaging your installation.


