In this article, we will cover the different steps for fitting a mixer tap on a bathtub. As a DIY enthusiast, this guide will provide you with all the necessary information to successfully complete this operation.
Choose the right mixer tap and equipment
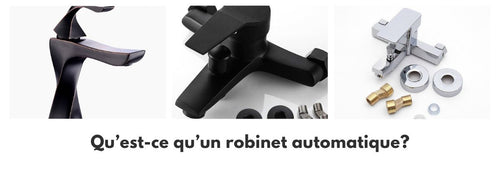
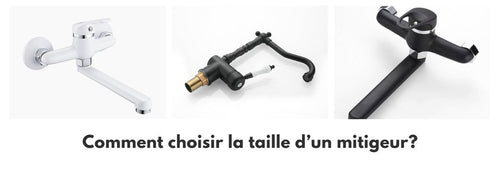
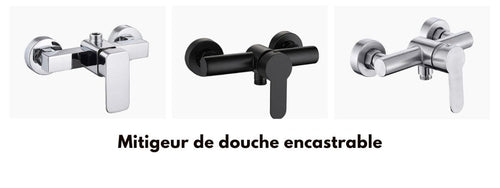
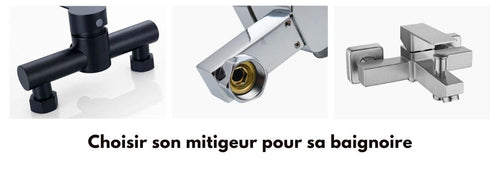
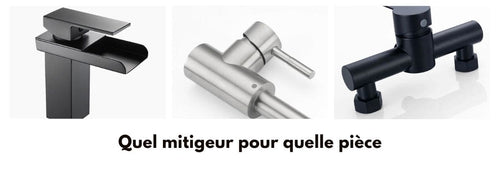
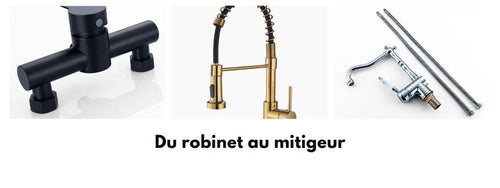
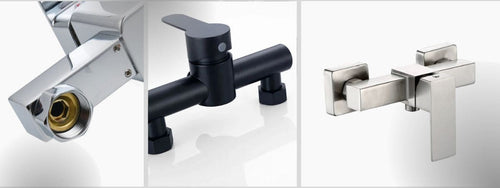
To start, you need to choose the bathtub mixer tap suitable for your bathroom. There are several types of mixer taps:
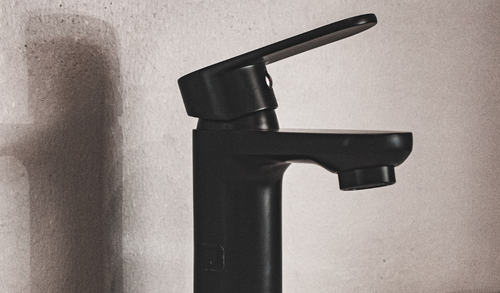
- Single-lever mixer tap: allows you to regulate the temperature and water flow with a single control.
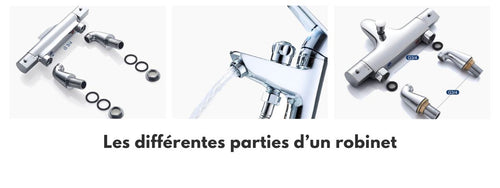
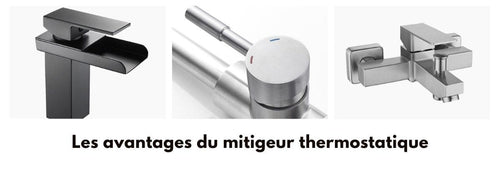
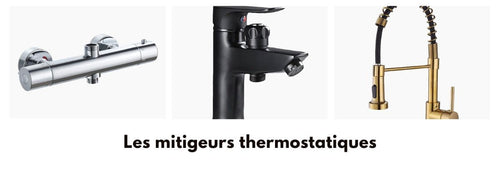
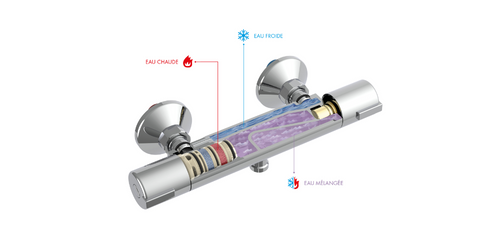
- Thermostatic mixer tap: allows you to automatically adjust the water temperature using a thermal sensor. They are more comfortable but also more expensive.
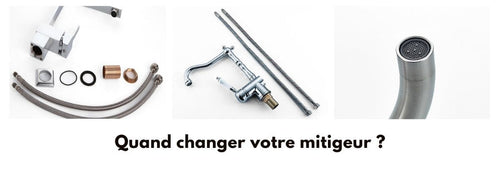
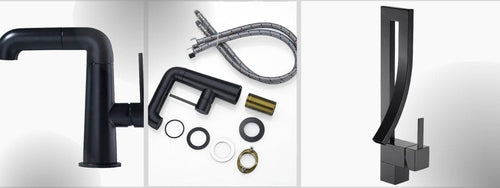
Next, make sure you have all the necessary equipment such as:
- Bathtub faucet
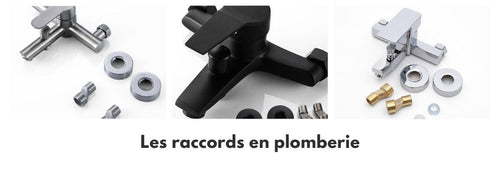
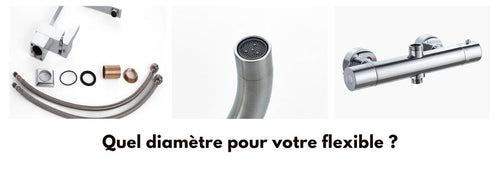
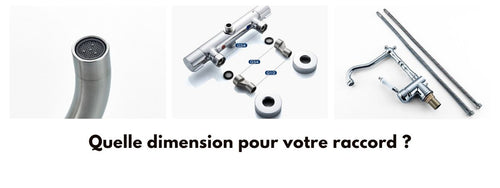
- Fittings
- Teflon tape
- Sealing gasket
- Adjustable wrench
- Screwdriver
Connect the water supplies
Before proceeding with the installation of the mixer tap, don't forget to turn off the water supply! Once done, continue with the connection of the water pipes by following these steps:
- Identify the hot and cold water supplies. Generally, hot water is on the left and cold water is on the right.
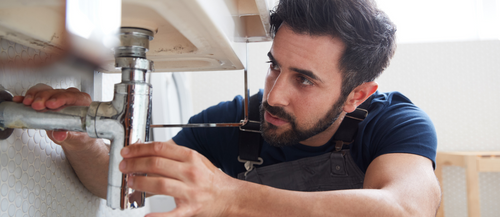
- Tighten the nuts of the two flexible hoses on the water supply pipes using the adjustable wrench.
- Check the tightness of the connections by running a wet finger around the joints. If you feel resistance or a gap between the gasket and the pipe, tighten the nuts until the gasket is in place.
Attach the mixer tap to the bathtub
Once the connections are made, you can attach the mixer tap to the bathtub. Here's how to proceed:
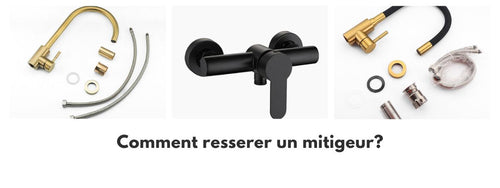
- Remove the cover of the mixer tap to access the mounting holes on the wall.
- Position the faucet at the desired height, then mark the location of the mounting holes on the wall.
- Drill the wall using a drill and place the anchors provided with the mixer tap into the holes.
- Reposition the mixer tap and insert the screws into the anchors.
- Tighten the screws using a screwdriver, then replace the cover.
Connect the mixer tap to the bathtub
To complete this installation, all that's left is to connect the mixer tap to the bathtub:
- Tilt the mixer tap slightly forward to facilitate assembly.
- Slide the flexible hoses into the holes provided on the bathtub, then tighten the nuts using the adjustable wrench.
- Check the tightness of the connections again by running a wet finger around the joints.
- Finally, tighten all the nuts after checking that the mixer tap is properly positioned and straight.
Adjust the maximum temperature of the hot water (for thermostatic mixer taps)
To prevent burns, it is recommended to adjust the maximum temperature of the hot water if you have chosen a thermostatic mixer tap. To do this:
- Open the cover located on the side of the mixer tap using a flat-head screwdriver.
- Adjust the desired maximum temperature using the graduated wheel under the cover.
- Close the cover with the flat-head screwdriver.
Test the operation
After completing all these steps, don't forget to test the proper operation of the mixer tap:
- Turn on the water supply and check for leaks at the connections.
- Check that the water temperature and flow are correct, adjusting the setting of the thermostatic cartridge if necessary for thermostatic mixer taps.
By carefully following our practical guide, you should be able to successfully fit a mixer tap to a bathtub. Do not hesitate to consult a professional if you have any doubts or difficulties during the various steps.


