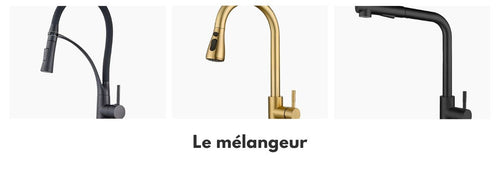
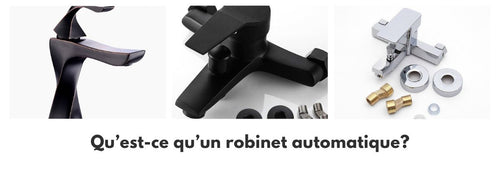
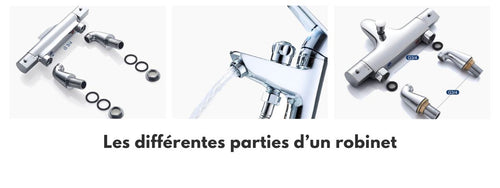
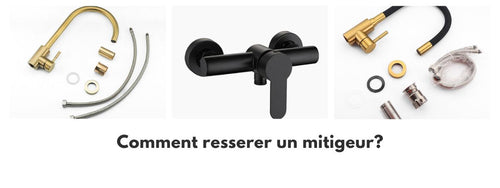
Infrared mixers are becoming increasingly popular. Their efficiency, practicality, and ease of use provide an optimal and modern user experience. In this article, we will discover together how to install an infrared mixer and the advantages it provides, whether for your kitchen or for your bathroom sink.
What is an infrared mixer?
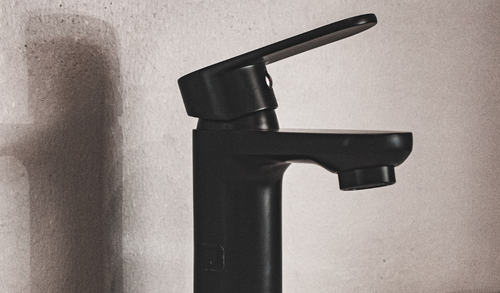
An infrared mixer is a mechanical device equipped with an electronic sensor that detects the presence of hands under the tap. This automatically releases the water without having to manually operate the tap handle. There are two main types of infrared mixers: standalone models that operate with batteries and electric models connected to the mains.
Why choose an infrared mixer?
Hygiene
The use of an infrared mixer ensures better hygiene since it does not require any manual manipulation. This also avoids the risk of cross-contamination between different users.
Water saving
Thanks to its proximity sensors, the water flow stops automatically when the user removes their hand. This results in real water savings (up to 70%) and a reduction in energy consumption.
Ease of use
The infrared mixer offers real ease of use. For example, when a person wants to quickly fill a carafe or a glass, they simply need to place their hand near the sensor to release the water.
How to install an infrared mixer?
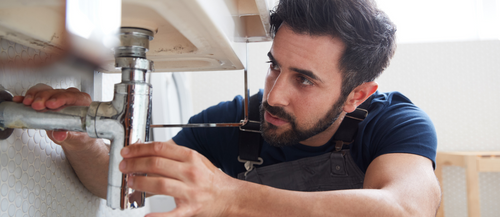
To facilitate the installation of your infrared mixer, here are the main steps to follow:
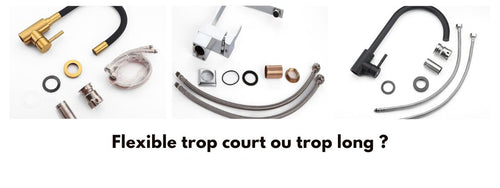
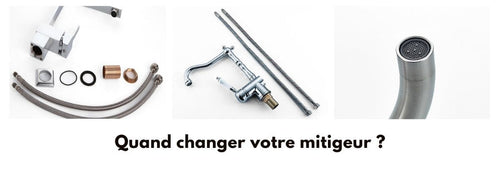
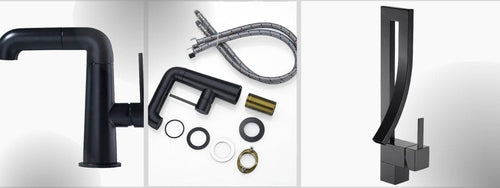
- Check the contents of the package: make sure that all the parts and accessories included are present in the package (tap with sensor, connection hoses, electronic module, and batteries for standalone models).
- Prepare the installation: before starting, shut off the water supply and disconnect the electricity if necessary. Also, prepare your tools (adjustable wrench, pliers, screwdriver) and a clean cloth.
- Remove the old tap: dismantle the old tap and remove it from the sink or washbasin by unscrewing the fixing nuts and disconnecting the supply hoses.
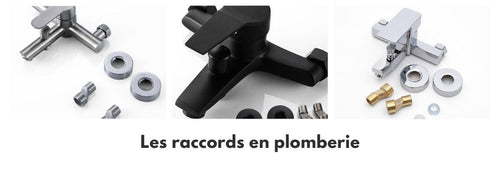
- Attach the new mixer: place the supplied gasket on the base of the mixer, insert the threaded rods into the appropriate holes, then insert the mixer into the sink or washbasin. Screw the fixing nuts and washers to secure the mixer to the surface.
- Connect the hoses: screw the supply hoses to the hot and cold water pipes, being careful not to cross them. Use an adjustable wrench to tighten the fittings, without forcing too much to avoid damaging the seals.
- Install the electronic module: to install the electronic module of an electric model, attach it according to the manufacturer's instructions and plug it into the mains. For standalone models, insert the batteries into the compartment provided for this purpose.
- Check for leaks: restore the water and electricity supply and test the proper operation of the infrared mixer. Pay particular attention to checking that there are no leaks at the connections and joints.
3 tips for maintaining your infrared mixer
To ensure optimal lifespan of your infrared mixer and ensure its proper operation, here are some maintenance tips:
- Regularly clean the sensor: to prevent dust or debris from affecting the sensor's performance, clean it regularly with a soft, damp cloth.
- Dust the water pipes: it is recommended to regularly check the condition of the water pipes and the aerator to avoid any obstruction. Use a soft toothbrush to remove limescale deposits that may form.
- Change the batteries: if you use a standalone model, remember to replace the batteries when they are low to ensure the proper functioning of the infrared mixer.
Installing an infrared mixer at home offers numerous advantages in terms of hygiene, water, and energy savings. By following our advice and tips, installing and maintaining such a device becomes simple and quick.


