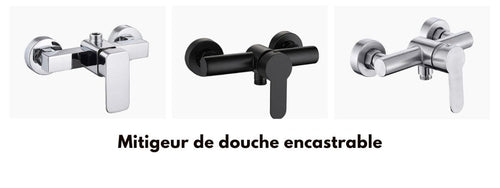
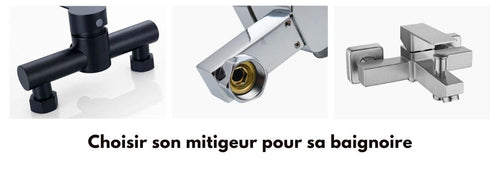
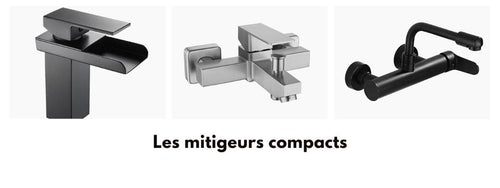
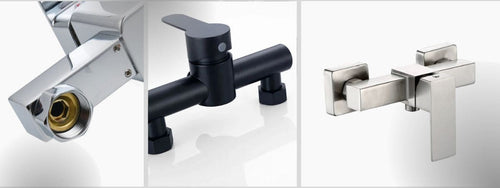
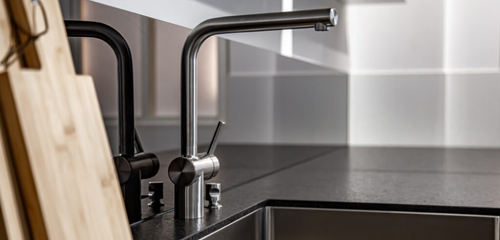
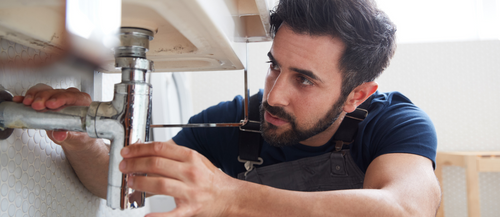
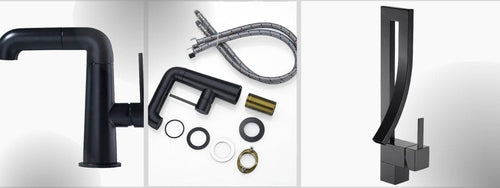
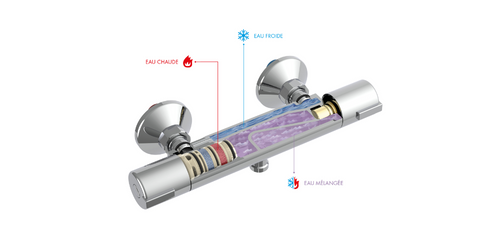
The wall-mounted mixer tap is a design and functional element in our kitchens and bathrooms, allowing us to regulate the water temperature and use it comfortably. To fully enjoy the benefits of this type of faucet, it is crucial to follow the key steps during its installation and to maintain it in good condition. In this article, discover all the necessary information for the proper installation and maintenance of your wall-mounted mixer tap.
Preparation and choice of materials
First, make sure you have all the tools and materials necessary for the installation of your wall-mounted mixer tap. You will need:
- A mixer tap
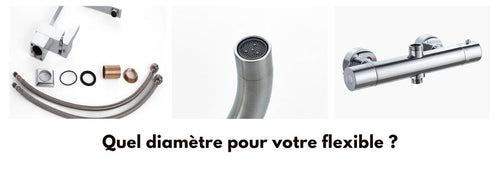
- Supply hoses
- A drill
- A level
- A screwdriver
- An adjustable wrench
- A hammer
- Teflon tape or joint compound
- A metal and/or electrical cable detector
Also, select a mixer tap model suitable for your wall and compatible with your hot and cold water supplies.
Installation of the wall-mounted mixer tap
Step 1: Marking reference points
Start by determining where you want to install the wall-mounted mixer tap, taking into account the desired height and drainage areas. Use a spirit level to accurately mark the faucet's fixing points.
Step 2: Drilling holes
Using a drill, drill the fixing holes in the wall according to the marked reference points. It is essential to use a metal and/or electrical cable detector to avoid any accidents during this step.
Step 3: Installation of wall fixings
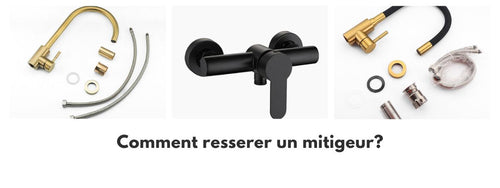
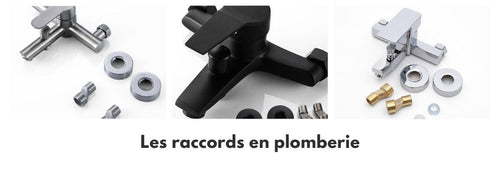
Insert the plugs provided with the faucet into the drilled holes, then attach the wall plates using the screws and your screwdriver.
Step 4: Connection of the supply hoses
Attach the supply hoses to the hot and cold water supplies in the wall, making sure to tighten the nuts properly with an adjustable wrench. Don't forget to wrap Teflon tape or apply joint compound to the threads of the fittings before tightening them.
Step 5: Mounting the faucet
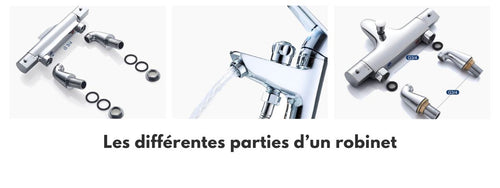
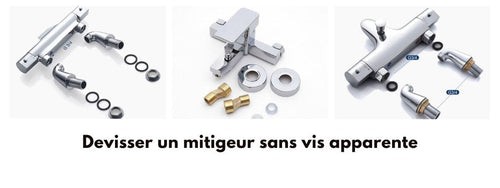
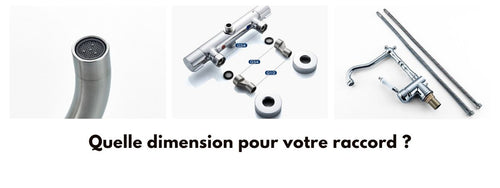
Before placing the mixer on its wall fixings, check that the O-rings are properly seated. Then, position the faucet on the wall plates and secure it using the clamping screws and screwdriver.
Step 6: Connecting the mixer to the supply hoses
Finally, connect the supply hoses to the mixer tap, then tighten the nuts with an adjustable wrench, being careful not to damage the pipes. Also, make sure to properly orient the drain hose towards the bathtub or sink.
Maintenance and disassembly of the wall-mounted mixer tap
Regular maintenance will extend the life of your wall-mounted mixer tap and ensure its proper operation. Here are some tips for properly maintaining your plumbing:
- Regularly clean the tap with a soft cloth and soapy water to prevent the buildup of limescale and dirt.
- Regularly check the tightness of the fittings and tighten the nuts responsible for any potential leaks.
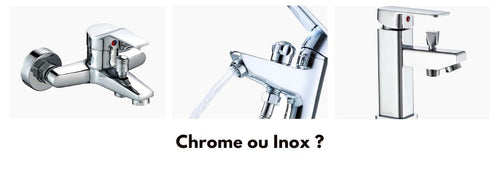
- To preserve the chrome finish, it is advisable to never use abrasive products or metal pads.
- In case of mixer malfunction (leak, temperature problem), do not hesitate to call a professional or consult the manufacturer's manuals to resolve the issue.
As for disassembling the mixer tap for repair or replacement, here are the steps to follow:
- Shut off the hot and cold water supplies.
- Detach the supply hoses using an adjustable wrench.
- Remove the faucet by removing the clamping screws on the wall plates.
- Then remove the wall plates and plugs to completely free your wall-mounted mixer tap.
The installation and maintenance of a wall-mounted mixer tap can be easily done by following the best practices and advice mentioned in this article. Feel free to refer to this comprehensive guide to fully enjoy the benefits offered by this type of plumbing and ensure its longevity.


