A stuck faucet can be particularly frustrating, especially if it affects your daily life and comfort at home. If you are facing this situation, there is no need to panic! There are many solutions to unblock it and get back to your normal routine without delay. In this article, we will see step by step how to effectively unblock a faucet.
Identify the cause of the blockage
To solve the problem, you must first identify the cause of the blockage of your faucet. Several factors can indeed be at the origin of such a problem:
- Limescale: A deposit of limescale at the cartridge level can cause hardening and thus cause the blockage.
- Worn seal: Over time, the seals of your faucet can wear out and deteriorate, which can cause difficulty in turning the handle.
- Lack of maintenance: Regular maintenance of your faucet prevents residues or impurities from accumulating and interfering with its proper operation.
Once you have determined the cause of the problem, you can move on to the next steps to unblock your faucet.
Disassemble the faucet
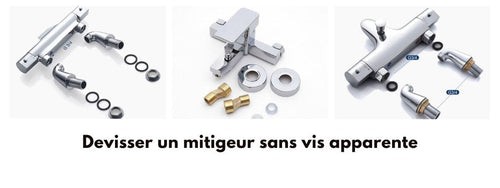
Before you start, remember to turn off the water to avoid any risk of accidents and water damage. Then proceed to disassemble the faucet:
1. Remove the faucet cap
This small plastic element generally covers the fixing that holds the handle in place. To remove it, use a flat tool or a coin to lift it gently.
2. Loosen the fixing screw
Using a suitable screwdriver (cross or flat depending on the models), loosen the fixing screw located under the previously removed cap. This step will allow you to remove the handle.
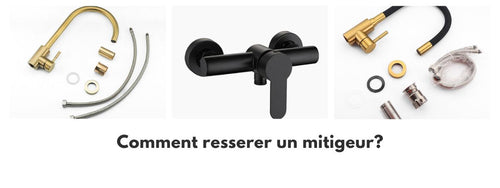
3. Unscrew the ring
Once the handle is removed, you will see a threaded ring (called a nut) that holds the cartridge and seals in place. Unscrew this to release the cartridge.
Note:
To facilitate disassembly, do not hesitate to soak the blocked areas with a little white vinegar or a descaler a few hours before the intervention.
Clean and check the faucet components
After disassembling the faucet, it is time to clean and inspect its various elements:
- Cartridge: Immerse the cartridge in a container containing white vinegar to dissolve the limescale deposits. Let it act for a few hours, then rinse thoroughly with clear water.
- Seals: Take advantage of this step to check the condition of the seals and replace them if necessary. Also, remember to clean their location with a soft brush.
Reassemble the faucet
Once everything is clean and in good condition, it is time to reassemble your faucet:
1. Replace the cartridge and seals
Insert the descaled and cleaned cartridge into its location, making sure to place the seals correctly.
2. Screw the fixing nut
Screw the fixing nut to hold the cartridge and seals in place. Make sure it is tightened correctly, without excessive force.
3. Put the handle back in place
Replace the handle on the cartridge axis and fix it with the fixing screw provided for this purpose.
4. Close the screw cap
Position the cap that covers the fixing screw by pressing it lightly with your fingertips or using a flat tool if necessary.
There you go, your faucet is now unblocked and ready to use! You can reopen the water supply and enjoy again this essential part of your plumbing installation. Regular maintenance will help prevent future problems and extend the life of your faucet.


