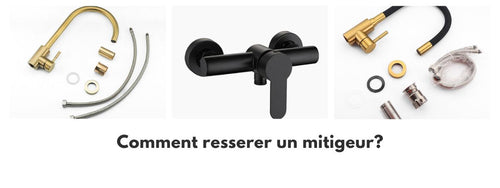
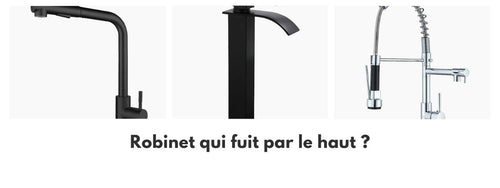
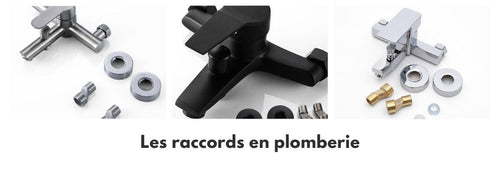
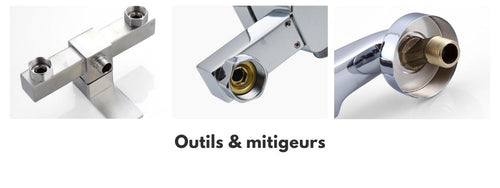
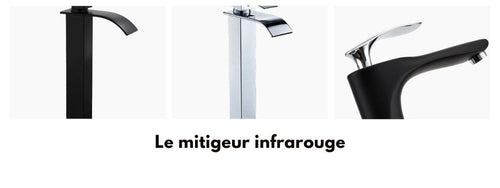
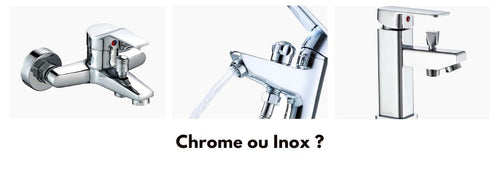
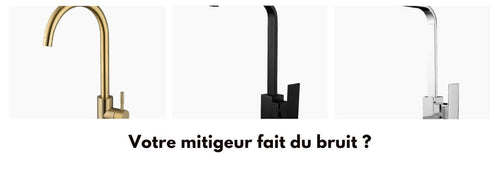
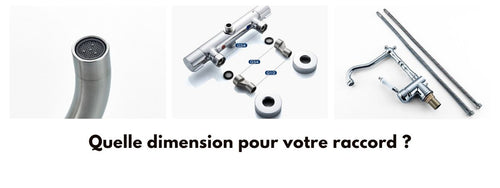
Repainting a mixer tap is a possible and economical solution to renovate your plumbing without having to replace it entirely. Indeed, this operation allows you to refresh the appearance of your faucets while retaining their original functionality. In this article, we will address the key steps to successfully complete this project, as well as some tips for achieving a durable and aesthetic result.
Materials needed to repaint a mixer tap
To carry out this operation under the best conditions, you need the right equipment. Here is a list of the main tools and products you will need:
- A multi-purpose degreaser or solvent to clean the surfaces
- Fine-grit sandpaper to prepare the metal
- Special paint for metals, resistant to water and abrasion
- A brush suitable for the size of your mixer tap
- Clear varnish, optional depending on the type of paint chosen
- A well-ventilated work area protected from paint splatters
Preparing the surface of the mixer tap
Before painting, it is essential to prepare the surface of the mixer tap correctly to ensure optimal paint adhesion. To do this:
- Detach the mixer tap from the sink or bathtub if possible. This will allow you to work more easily and achieve a better result.
- Thoroughly clean all metal parts with a lint-free cloth soaked in multi-purpose degreaser or solvent. Then wipe with a clean cloth and let it dry.
- Lightly sand the surfaces to be repainted with fine-grit sandpaper. This step is important to promote paint adhesion to the metal and eliminate traces of tartar or limescale.
After these preparations, make sure your work area is sufficiently ventilated and protected from paint splatters, then install the mixer tap to be repainted on a stable support.
Applying the paint
Once the mixer tap is properly prepared, you can proceed with the application of the special metal paint:
- Thoroughly mix the paint in its pot to obtain a uniform consistency.
- With a suitable brush, apply a thin first coat over the entire mixer tap. Be careful not to overload the brush with paint to avoid drips and unevenness.
- Let the paint dry for the time indicated by the manufacturer (usually a few hours).
Adding a second coat of paint and finishing
Once the first coat of paint is dry, you can apply a second coat:
- Apply a new coat of paint, making sure not to overload the brush, and let it dry for the time recommended by the manufacturer.
- Then evaluate the result and do not hesitate to add a third coat of paint if necessary to achieve good opacity and color uniformity.
Final treatment of the mixer tap
Depending on the type of paint chosen, it may be interesting to apply a clear varnish to the repainted mixer tap to enhance its protection against water, scratches, and cloth abrasion. You can follow the same method as for the paint, applying a thin layer of varnish with a clean brush and allowing it to dry properly.
Feedback and additional tips
Here are some things to consider before starting this renovation project:
- The quality of the paint is crucial to ensure a durable result resistant to water. It is therefore recommended to opt for a special metal paint, which offers better adhesion to stainless steel surfaces.
- Prefer aerosol paints rather than brush paints to obtain a more homogeneous finish and avoid brush marks on your plumbing.
- Disassemble the mixer tap as much as possible to facilitate painting and avoid friction between its different parts that could damage the new finish.
By following these tips and key steps for repainting a mixer tap, you can give a new look to your plumbing without having to carry out major work or incur significant costs. However, it is an alternative solution that will not equal the purchase of a new mixer tap. It is to be considered if you do not have the funds, or if you want to try a bold color for example. This will allow you to personalize your interior and improve the aesthetics of your kitchen and/or bathroom installations.


