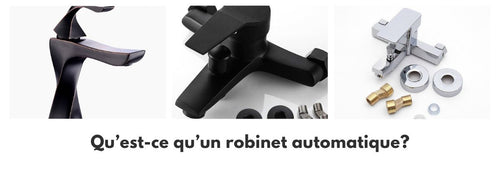
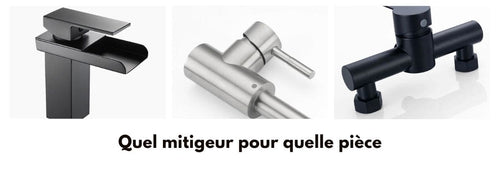
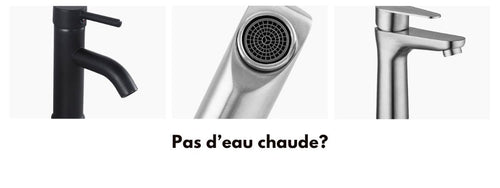
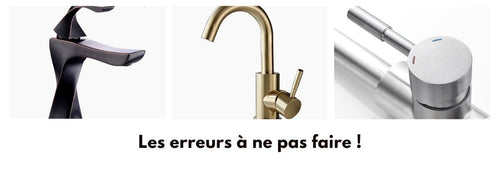
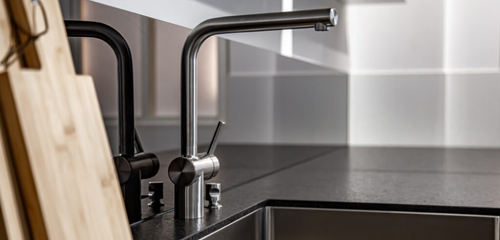
The mixer tap is one of the most commonly used devices in plumbing. It allows mixing of hot and cold water while preventing sudden temperature changes during use. However, like any other plumbing part, the mixer tap’s seal can wear out over time, leading to leaks or improper flow. Here, we will show you how to easily replace a mixer tap seal.
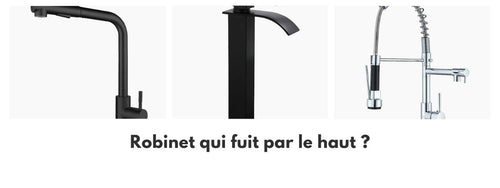
Identify the causes of a leak on a mixer tap
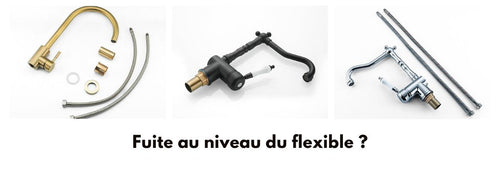
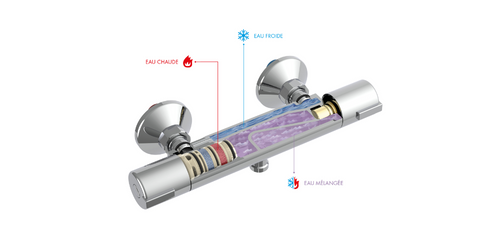
Before starting to take apart your tap, you need to know where the leak is coming from. Water leaks are often caused by worn seals or valves. The seal is a small part that ensures tightness between the different parts of the tap. As for the valves, they serve to block or allow the passage of water in the pipes. Here are some things to check to determine if the problem comes from the seal:
- Appearance of water marks on the walls or around the tap
- A significant increase in water consumption
- A continuous or intermittent flow of water, even when the tap is closed
If you notice any of these signs, it indicates that your seal probably needs to be replaced.
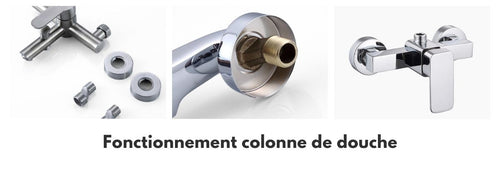
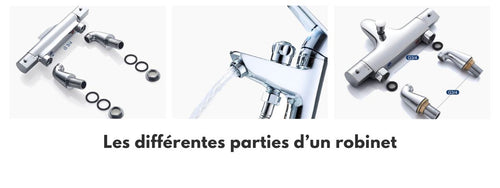
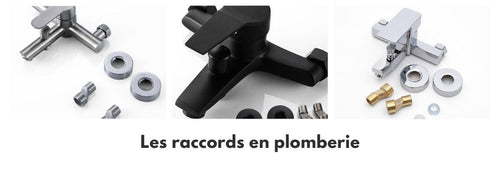
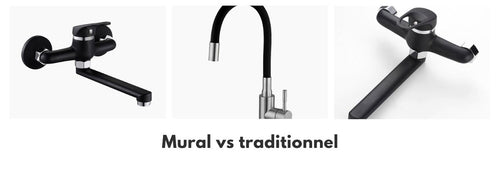
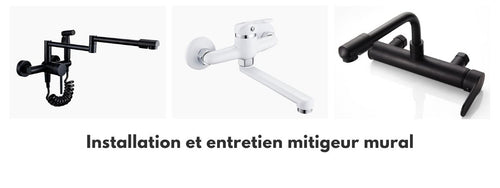
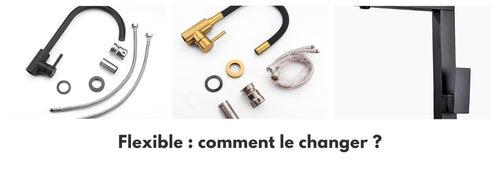
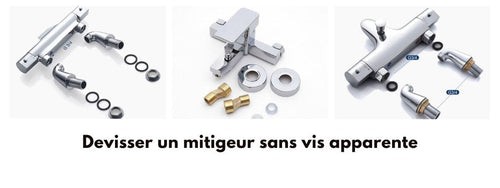
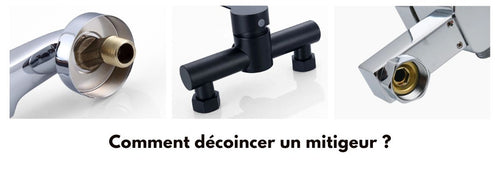
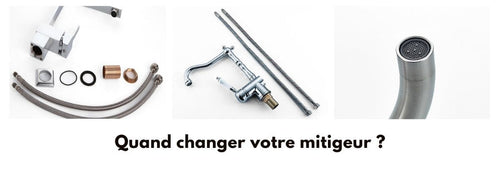
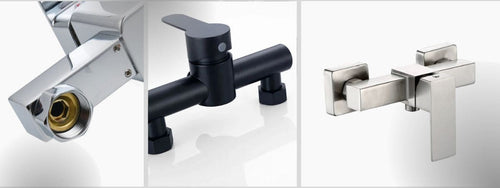
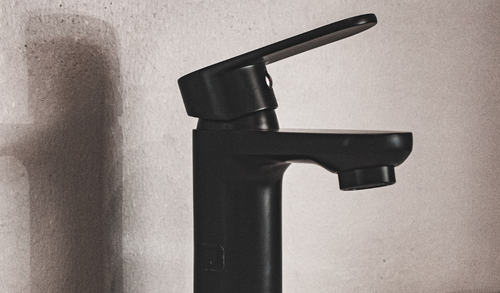
Take apart the mixer tap to access the seal
Once the cause of the leak is identified, it is time to take apart the tap to access the worn seal. Here are the steps to follow:
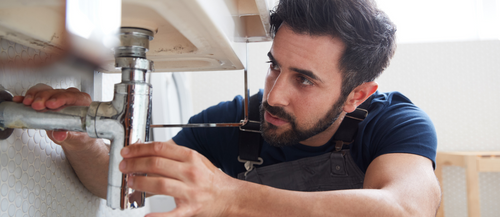
- Turn off the water supply: Before any work on a plumbing device, it is essential to shut off the main water supply. You can also close the stopcocks located under the sink or near the affected tap.
- Remove the mixer handle: Depending on your tap model, you may need to remove a screw hidden behind a plastic cover or near the brand logo. Use a suitable screwdriver and be careful not to damage the tap’s finish.
- Remove the cartridge: Once the handle is removed, take off the locking ring that holds the cartridge in place. Then, unscrew the cartridge using an adjustable wrench or a box wrench.
- Locate the seal: At this stage, you should have access to the seal of your mixer tap. It is usually found around the cartridge or at the bottom of the tap body.
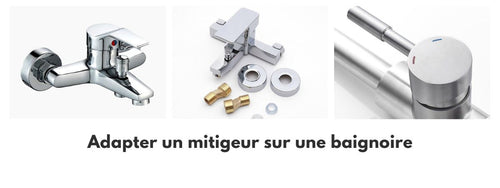
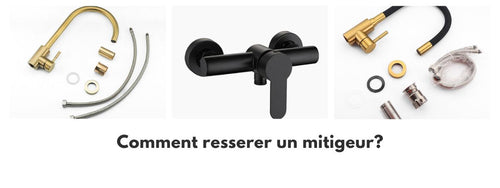
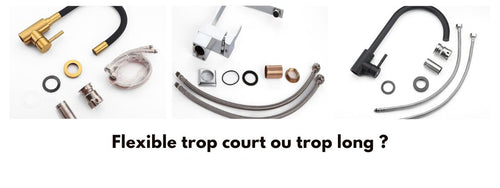
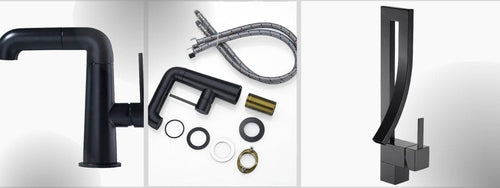
Replace the faulty seal with a new one
Once you have access to the worn seal, replace it with a new seal suitable for your tap model. You can get a seal at a hardware store or a shop specializing in plumbing supplies. Also, make sure to choose a quality seal to ensure better tightness and longer lifespan.
- Remove the old seal: Using a flat screwdriver or pliers, carefully remove the worn seal from the tap. Be careful not to damage the surrounding surfaces.
- Clean the area: Before installing the new seal, take time to thoroughly clean the surface where it will be placed. This will remove residues and improve the adhesion of the new seal.
- Place the new seal: Fit the new seal onto the clean surface, making sure it is well positioned and aligned with the other parts of the tap.
- Tighten the nuts again: Once the seal is installed, tighten the nuts again using your tool. Be careful not to overtighten to avoid cracking the porcelain or deforming the metal parts.
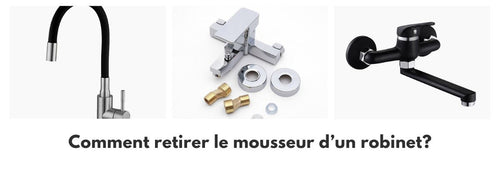
Reassemble the tap and check for leaks
Now that the seal has been replaced, all that remains is to reassemble the mixer tap and check if your work has solved the leak problem. Follow these steps to put all the tap parts back in place:
- Replace the cartridge: Insert the cartridge into the tap body and secure it with the locking ring.
- Reattach the handle: Put the handle back in place and screw it in so it fits well with the rest of the device.
- Turn on the water: To ensure the leak has been stopped, reopen the water supply and test your tap. You will quickly see if the seal is well positioned and watertight.
Changing a mixer tap seal is a simple task to do yourself. By following these few steps, you will extend the life of your equipment and avoid unnecessary water waste. Your tap will always be functional and pleasant to use, while helping to control water consumption.