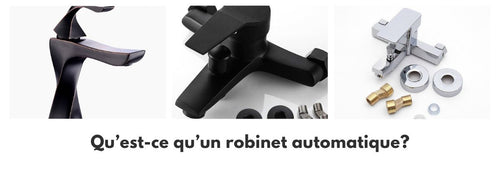
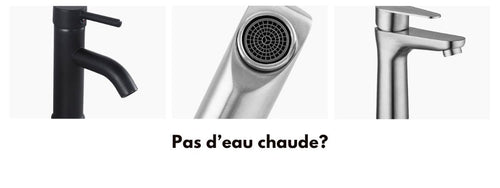
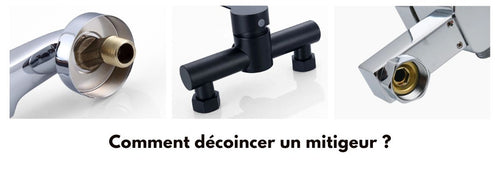
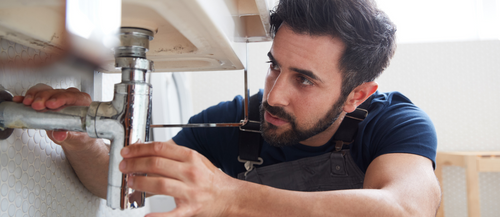
Are you facing a problem dismantling your mixer tap without visible screws? Don’t worry, we have the solution for you! In this article, we will explain how to unscrew a mixer tap without visible screws by following a few simple steps.
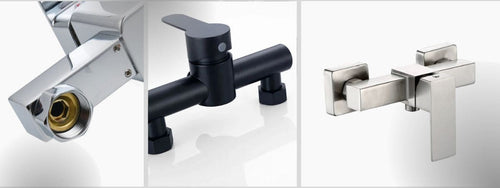
Identify the type of tap
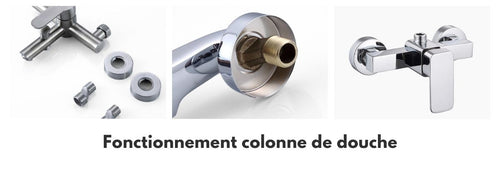
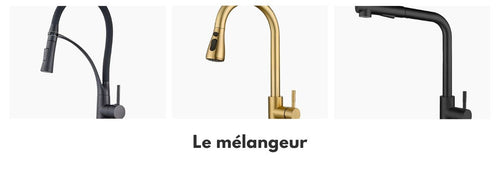
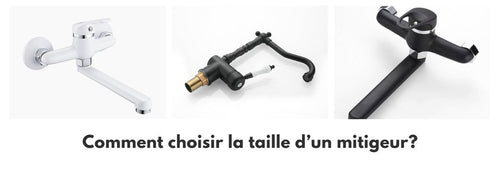
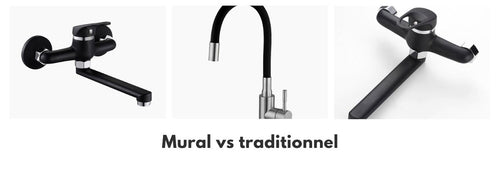
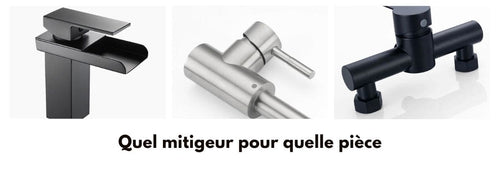
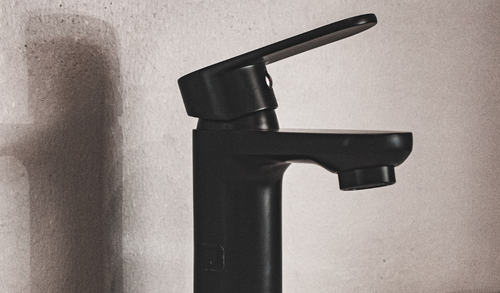
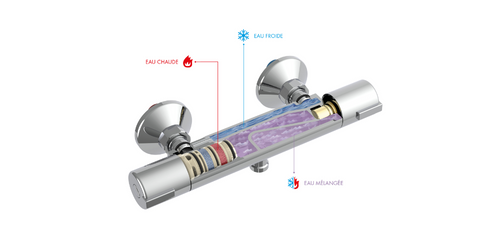
First of all, it is essential to determine whether your tap is a mixer tap or not. Mixer taps are modern taps that allow you to adjust the temperature and flow of water using a single handle. They differ from traditional taps by lacking two separate handles for hot and cold water. If you are unsure about the type of tap you have, here are some indicators:
- Mixer taps usually have a swiveling head
- They often have a ceramic cartridge instead of a rubber valve
Once you have identified the type of tap, you can move on to the next steps.
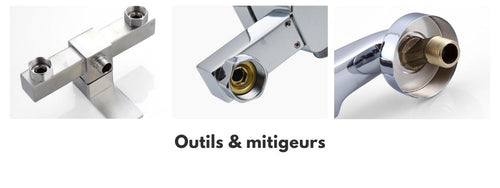
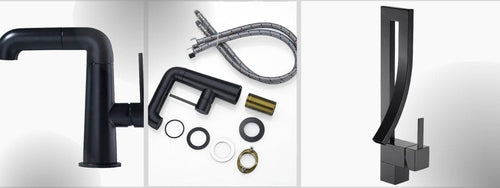
Necessary tools
To successfully carry out this task, you will need to gather a few essential tools:
- a flat screwdriver
- an adjustable spanner
- a water pump plier
- penetrating oil (optional)
Also make sure to shut off the water at the source to avoid any risk of leaks or flooding during your work.
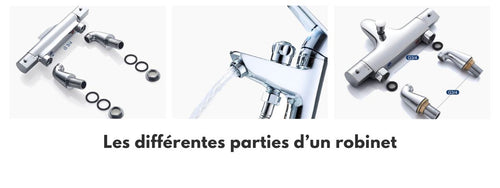
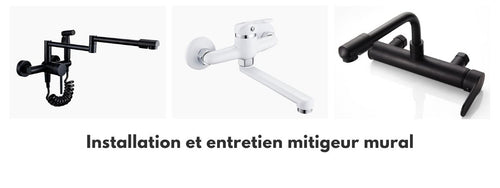
Remove the screw cover cap
In the case of mixer taps without visible screws, the first step to access the screws is to remove the screw cover cap which is usually located on the top or at the back of the tap head. To do this, follow these steps:
- Using a flat screwdriver, carefully insert it into the gap between the cap and the surface of the mixer tap
- Gently lever to lift the cap, without applying excessive force that could damage the tap
- Carefully remove the cap and set it aside, taking care not to lose it
You should now have access to the screws of the mixer tap. If you have trouble spotting them, do not hesitate to use a torch to light up the inside of the cavity.
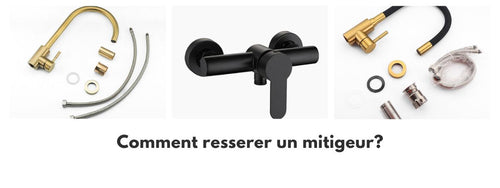
Unscrew the screws
Once the cap is removed, it is time to unscrew the screws holding the mixer tap in place. Depending on your mixer tap model, it may be necessary to use an adjustable spanner or water pump plier to unscrew them. Follow these steps:
- Identify the location and size of the screws
- If needed, adjust the size of your tool (adjustable spanner or water pump plier) according to the size of the screws
- Place the tool on the screws and turn counterclockwise until they are fully unscrewed
- Retrieve the screws and set them aside
Note: Mixer taps are sometimes fastened by nuts located under the worktop or the basin. In this case, you may need to use a different method to access the nuts.
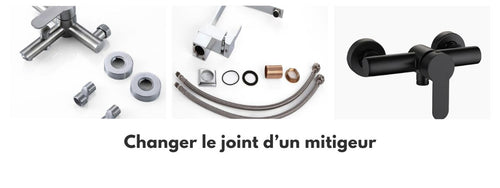
Use penetrating oil if necessary
If the screws seem stuck or hard to unscrew, it is recommended to use penetrating oil to ease their removal. Apply it directly on the screws following the manufacturer’s instructions, then wait a few minutes before trying again to unscrew them with your tool.
Dismantle the mixer tap
Once all the screws are removed, you can now proceed to dismantle the mixer tap. To do this, follow the instructions below:
- Firmly grasp the head of the mixer tap
- Turn and gently pull to detach the mixer tap from its mount
- Carefully free the mixer tap while paying attention to the supply hoses connected to it
- If needed, use a flat screwdriver to help separate the mixer tap from the mount
Your mixer tap should now be fully dismantled. You can then proceed to replace or repair the faulty parts before reassembling everything in the reverse order of the steps described above.
Keep your mixer tap in good condition
To avoid future problems and extend the lifespan of your mixer tap, follow these few tips:
- Regularly clean the tap with a soft cloth and a non-abrasive cleaner
- Periodically check the tightness of the mixer tap and replace the seals if necessary
- Avoid applying excessive pressure on the mixer tap handle
- In case of malfunction, do not hesitate to call a craftsman
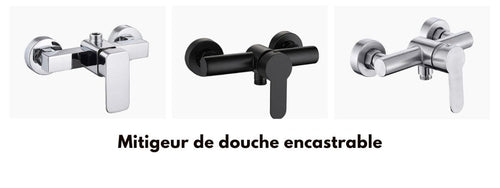
With these tips, you will be able to maintain a quality installation and fully enjoy your mixer tap over the long term. If you need to replace it, come take a look at our page of shower mixer taps, bathtub mixer taps, or washbasin taps.