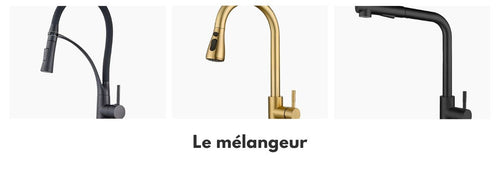
Are you considering replacing your old faucet, but don’t know how to go about it? Do you simply want to install a more modern and stylish mixer tap?
Disassembling a faucet is within the reach of any DIY enthusiast. If you are trying to repair or replace a faucet and need to disassemble the one you have, it is important to follow a few steps to avoid accidentally flooding your kitchen, bathroom, or any other sink faucet.
In this article you will learn:
- When should you disassemble your faucet?
- What tools are needed?
- How to disassemble a kitchen faucet?
- How to disassemble a bathroom faucet?
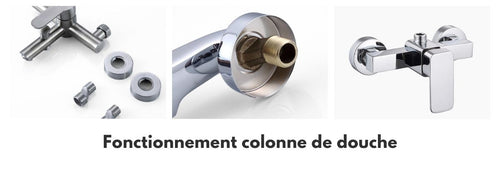
- How to disassemble a shower faucet?
Note: The procedure will be slightly different depending on the type of faucet you are trying to disassemble.
Why disassemble your faucet?

The presence of a kitchen faucet that is defective or even obsolete is an uncomfortable situation. In this case, you were probably experiencing difficulties when using your faucet. In the worst case, it can cause a water leak. Such inconveniences affect your comfort and lead to very costly bills.
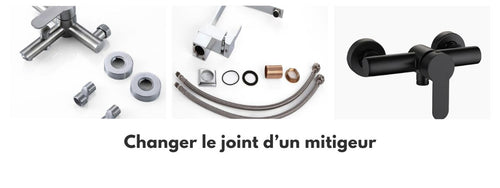
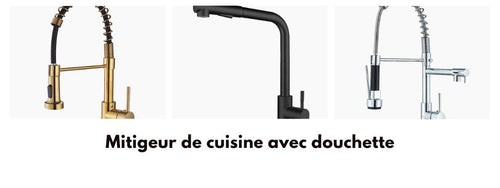
So you need to disassemble your faucet to replace it with a new one or to change a sealing gasket. Replacing a kitchen faucet with a spray usually allows you to achieve significant water savings. Additionally, it gives a fresh new look to your kitchen style and improves the performance of your kitchen sink.
Here are other reasons that may lead you to disassemble your faucet:
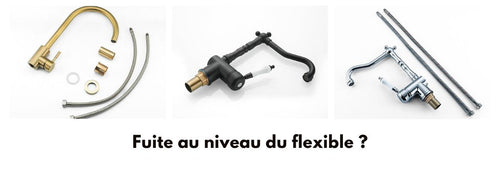
Faucet problems related to a leaking cartridge
Many sinks are equipped with cartridge faucets. These devices use cartridges (or valves) to control the water flow of the faucet, and some problems can occur in cartridge sinks. If your cartridge faucet leaks, the cause may be a worn O-ring. If the O-ring of a sink is loose or worn, it can cause a leak at the handle.
Another issue specific to kitchen faucets is cartridge wear. When these valves break or malfunction, they cause the faucet to leak and must be replaced. In this case, the old faucet needs to be disassembled to install a new one.
Corrosion and wear
Corrosion can occur when certain metals are exposed to water, and faucets are no exception. Various parts of a faucet can corrode over time, especially in the presence of a buildup of dirt. The valve seat, seals, or other components of your faucet may be responsible if you have a leak.
Some parts simply wear out over time; washers and other parts that regularly experience friction need to be replaced eventually. If you don't like DIY, a plumbing professional can help you determine the cause of your faucet leak and carry out the necessary repairs.
Water pressure and spare or broken parts
In the case of some sinks, corrosion may not be the culprit of a dripping or leaking faucet. If your sink only leaks when you adjust the handles, you may have a water pressure problem. Leaks that only occur at certain times of the day are another indicator of a domestic water pressure issue.
Finally, loose or broken faucet components are a common cause of leaks. While some parts can be repaired or replaced, sufficiently severe damage may require a new faucet.
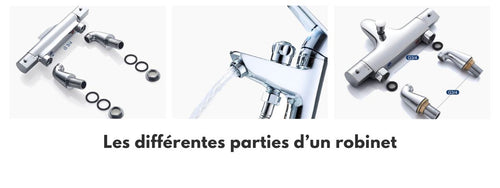
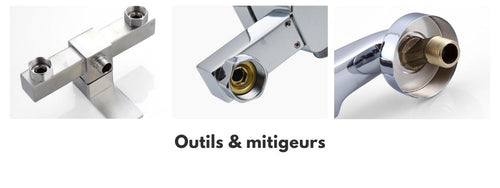
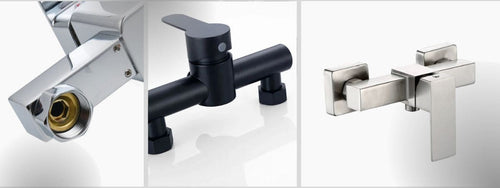
What tools are necessary to disassemble a faucet?
You don’t need many tools to disassemble a faucet.
You will only need:
- a flat wrench
- a adjustable wrench
- a screwdriver
- a towel
- a cleaning product to proceed with cleaning.
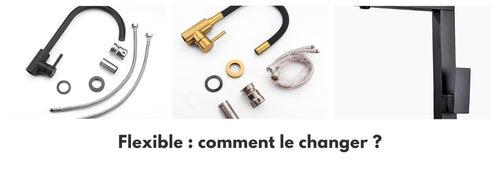
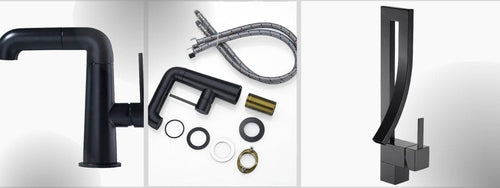
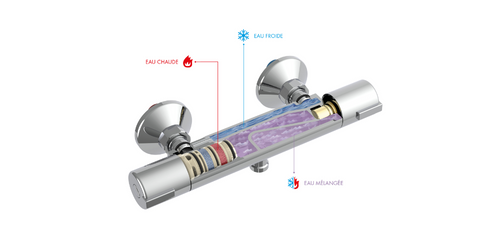
Before any intervention: Before showing you how to disassemble a faucet, it is important to specify that when the faucet leaks, sometimes just changing the washer is enough. If this change has no effect or there is still dripping, you need to change the cartridge. This is a part made up of two ceramic discs that allows the water mixing system to work properly. The cartridge controls the hot water supply and the cold water inlet.
You should also plan for the appropriate replacement cartridge. Most faucets offer classic models, so it’s better to buy the replacement cartridge once the old one is removed to be sure of the exact model.

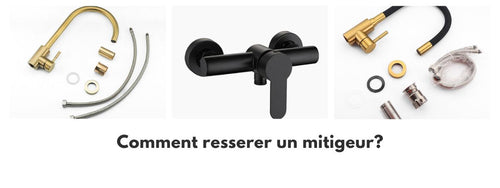
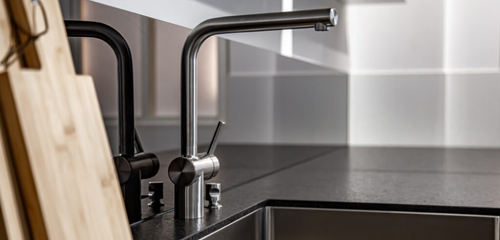
What are the steps to disassemble a kitchen faucet?
Bathroom sinks, kitchen faucets, bathtub or washbasin taps, and other accessories are everywhere. We use them every day, yet most of us don’t care about their maintenance until a problem occurs.
If you have a faucet that drips all night or your sink is constantly covered with water, you will probably need to disassemble and repair the faucet. Here are the steps to disassemble your kitchen faucet.
Let's start by seeing together how to dismantle a kitchen faucet!
Step 1: Turn off the water
To dismantle a faucet, the first thing to do is to turn off the water supply. There should be two separate shut-off valves: one for hot water and one for cold water. You should see the valves where there is a connection between the water pipes and supply pipes that go up to the fittings located at the base of the faucet.
Close both shut-off valves. If, for any reason, the valves do not work or are not present, you will then need to turn off the water at the main shut-off valve of the house, near the water meter. (If the shut-off valves do not work or are missing, you must install new ones before installing the new faucet).
Make sure the water is turned off by opening the hot and cold water taps in the kitchen. No water should come out of the faucet. Then, you will need to purge the pipe by opening the faucet. Finally, you must block the sink drain to ensure that debris stays in the pipe.
Step 2: Unscrew the nuts connecting the hoses to the water supply
After this step, take your open-end wrench to unscrew the hoses from the water inlets. To ensure a firm grip, you can use your adjustable wrench. Continue by dismantling the drain control rod using a screwdriver. If it is a washbasin, you must then remove the drain control rod.
Step 3: Remove the faucet fastening nuts
After that, remove the faucet fastenings. Once this operation is done, take the faucet out of its place and clean the opening to remove all dirt and limescale. Finally, you can install your new faucet or replace the sealing gasket of the old faucet.
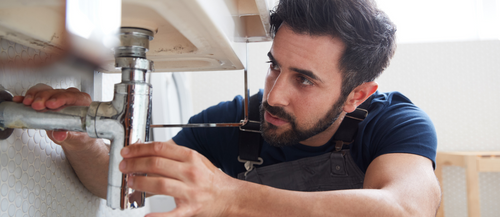
When carrying out the work, please act carefully to avoid causing any damage. At the slightest problem, do not hesitate to call a professional plumber. They can provide their expertise.
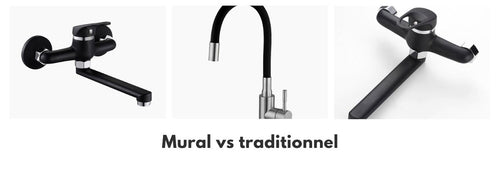
How to dismantle a bathroom faucet?

Now let's move on to the tutorial to learn how to dismantle a bathroom faucet!
To dismantle the bathroom faucet, you will need a screwdriver, a multigrip pliers, and an adjustable wrench. Unlike some shower and kitchen faucets, which have a third handle to control a diverter valve, bathroom faucet bodies have only one or two handles.
Note: Single-handle models are equipped with cartridge faucets, while double-handle models use compression faucets. Cartridge faucets are one-piece models that cannot be disassembled, but replacement cartridges are usually inexpensive. In contrast, compression faucets can be disassembled and repaired.
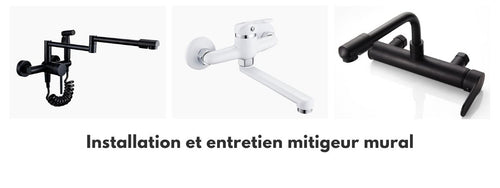
First of all, turn off the water supply
Before disassembling your faucet, it is very important that you close the shut-off valve. It is usually located under the sink. Make sure the water is completely turned off, otherwise you risk damaging your plumbing.
Remove the faucet and handles
Phase 1: Place a towel in your sink to avoid scratches or the risk of damaging your faucet if you drop it. First, carefully remove the handle using a flathead screwdriver to remove the cap, button, or plug at the top of the handle.
Phase 2: There should be a screw just below the decorative piece, and you will need to unscrew it, then remove the faucet. After that, you can remove the handle to access the cartridge. If you notice lime scale on a part, feel free to use white vinegar to remove it.
Phase 3: Take notes as you remove each accessory to remember the location of each part and be able to reassemble them easily. If you need to buy replacement parts for your faucet, note the manufacturer's name and take the parts with you to ensure you get the correct ones.
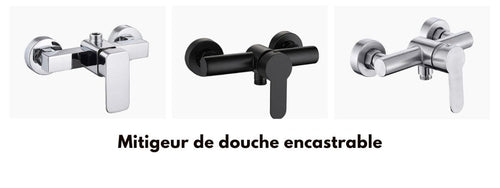
How to disassemble a shower faucet?
Now let's see how to disassemble a shower faucet!
Step 1: Remove the cartridge
If you have to pull the handle of your shower faucet to turn on the water, it means the faucet is equipped with a cartridge. If the faucet leaks or you cannot adjust the temperature, you generally need to remove the cartridge and clean it or replace the O-rings and seals.
Pop off the cap covering the handle screw using a flathead screwdriver. Beneath it, you will find a Phillips screw. After loosening and removing it with a Phillips screwdriver, you should be able to remove the handle. Handles with a lever are held by a screw with a hex head located under the faucet. Remove it using an adjustable wrench. The next step is to remove the cartridge from the housing. You can do this with pliers.
Step 2: Loosen the nuts connecting the pipes to the water supply
Before disassembling the tap, you must first remove the fittings that connect the pipes to the hot and cold water supply lines. Using an adjustable wrench, unscrew the nuts connecting the pipes to the supply lines and remove the fiber washer. If you need to restore the water before installing your new tap, you must close the water supply lines using a collector plug.
Step 3: Separate the drain control rod
To disassemble a tap, the control rod of the drain must also be separated from the body of the tap mechanism. To do this, use a screwdriver to loosen the screw that connects the drain control rod to the ball joint. Leave the screw in the thread so it does not get lost. Now remove the drain control rod by lifting it vertically.
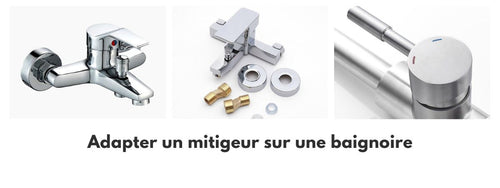
Step 4: Remove the tap fasteners under the sink or bathtub
To disassemble your tap, it is necessary to remove the fasteners attaching it to its support. Take your adjustable wrench to unscrew the fixing nut that holds the tap in place. Remove the support if your installation has one. After that, you can remove the sealing washer.
Step 5: Remove the tap
Since the tap is no longer connected to the sink or the water supply system, you can simply remove it by hand. If necessary, you can use a cleaning product suitable for this surface to clean the area where the tap is located, which may have dirt and limescale marks.
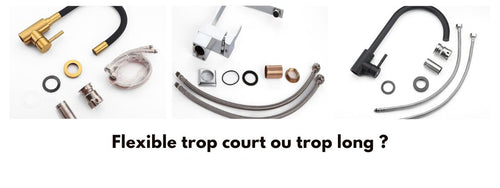
Make sure the hoses are in good condition: if none of them are damaged, they can be used for the new tap to be installed. Generally, you will need to replace the washers you removed with new ones.
Get your tools, get your taps ready!
Disassembling a tap allows you to examine the parts to determine which need to be replaced and what other repairs are necessary. Regardless of the type of tap to be disassembled, you must first turn off the tap under the sink or at the main water supply of the house.
Then open the tap and let all the water flow out. Place a towel in the trap to prevent any parts from falling in. Be careful about the order in which you remove the parts so you can reassemble the tap without difficulty. If you are not skilled with plumbing work, you can call a professional plumber to assist you.